The Monstera Thai Constellation is a rare and beautiful houseplant prized by plant lovers for its intricate white variegated leaves. As one of the most sought-after Monsteras on the market, TC plants can be quite expensive and difficult to find. Luckily, you can propagate your own Thai Constellation Monsteras at home through stem cuttings. With some patience and the right propagation techniques, you’ll have several new TC plants to enjoy or even share with fellow plant parents.
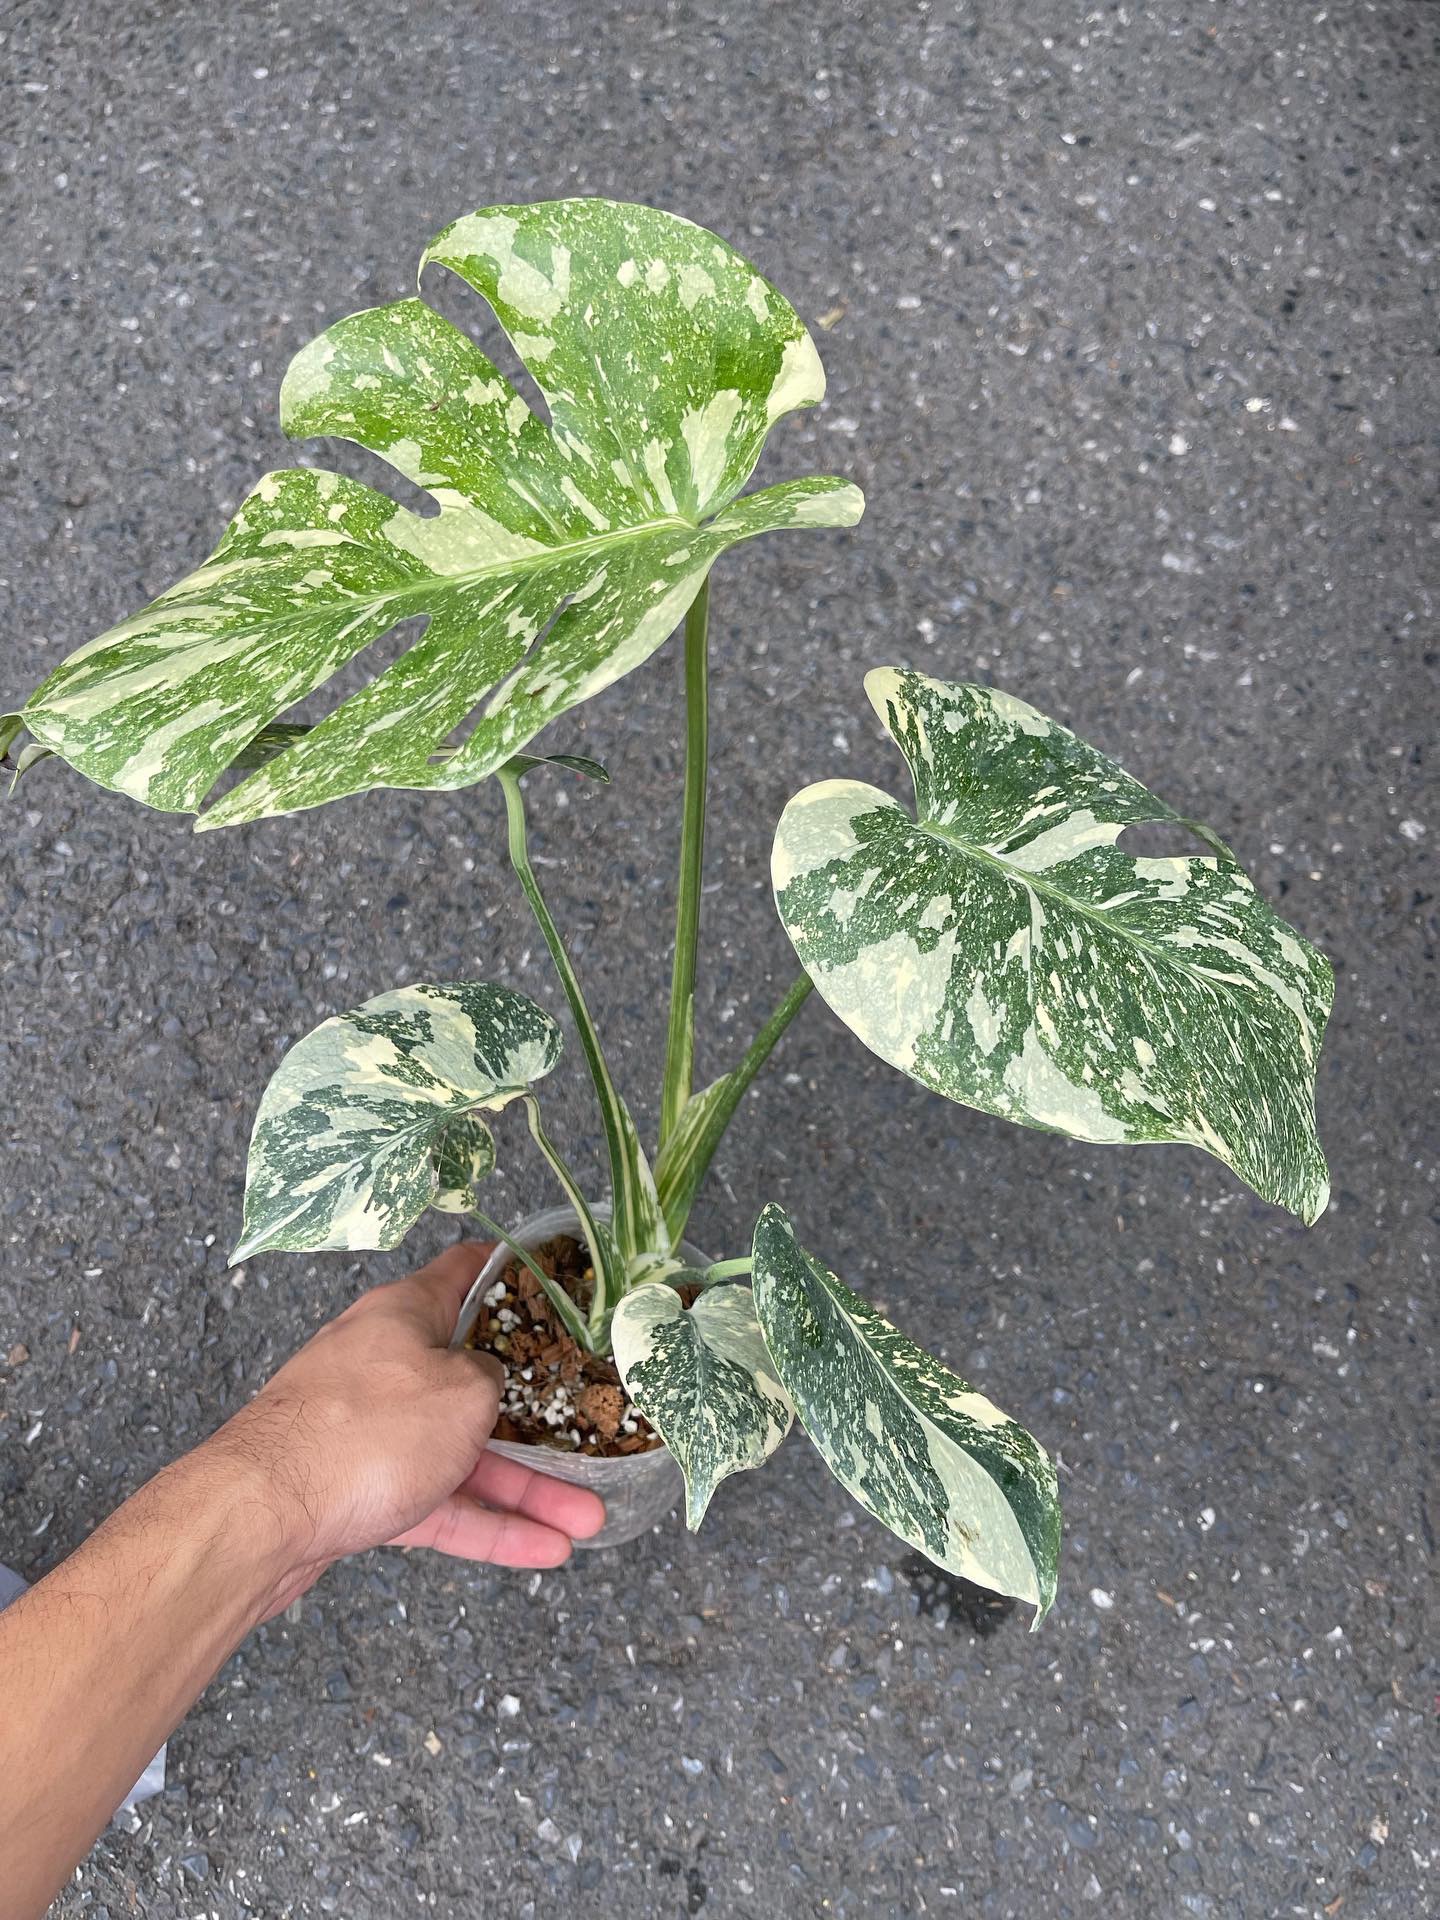
Selecting a Stem for Propagation
Choosing a Mature Stem
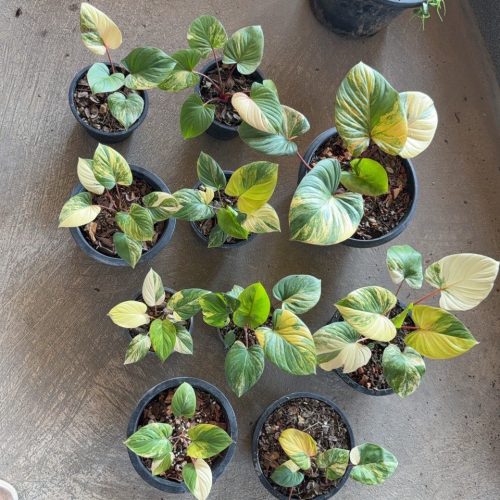
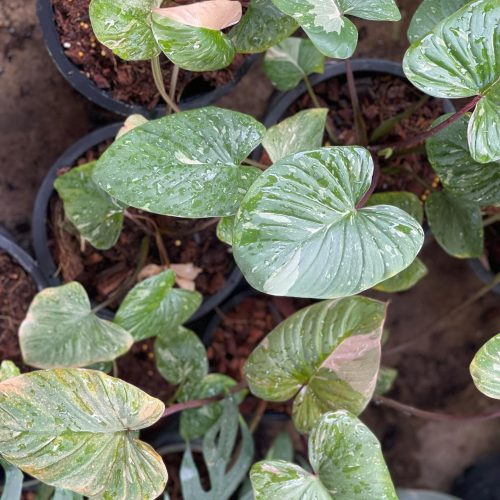
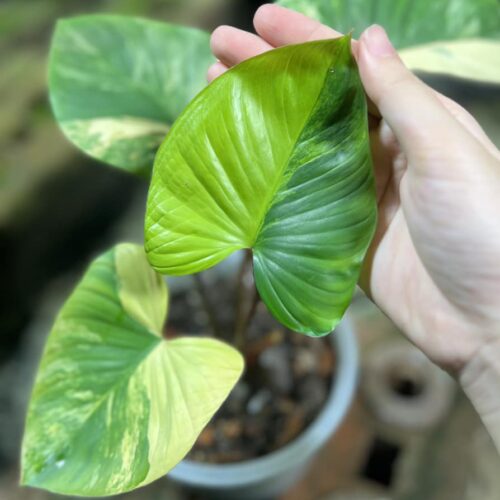
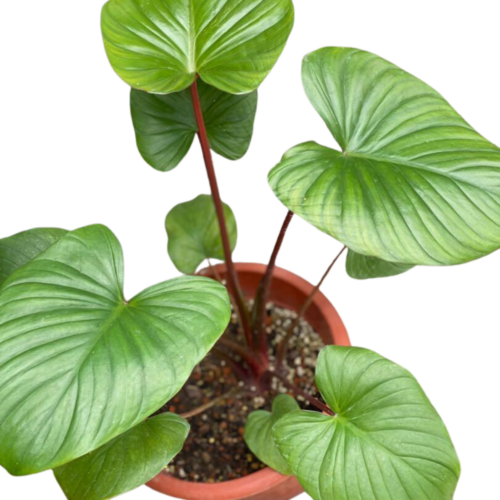
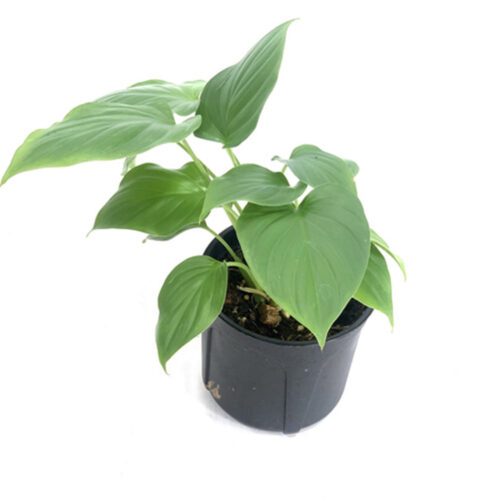
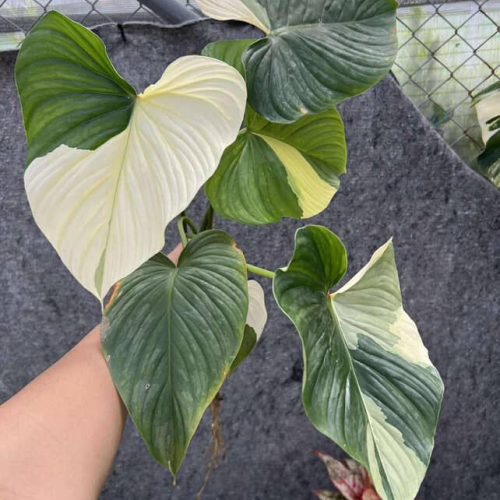
When selecting a stem to propagate, you’ll want to look for a mature, established stem that can easily develop its own robust root system. The best stems to choose will be thick, healthy, and showing fenestrations (natural holes in the leaves). Thinner, weaker stems often have a harder time rooting or surviving once separated from the mother plant. Select stems with 3-5 leaves to give the cutting plenty of energy to sprout new growth. Interested in other hardy plants? Consider adding Homalomena and Sansevieria to your collection.
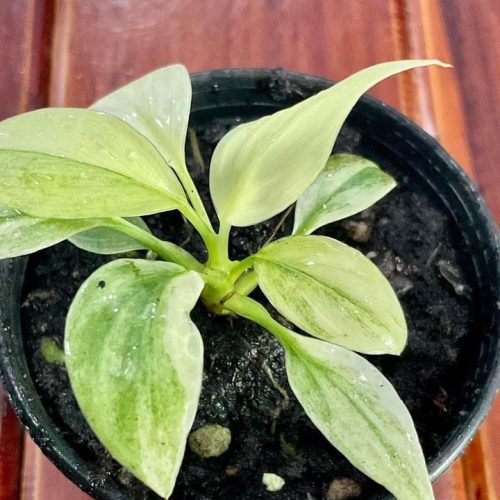
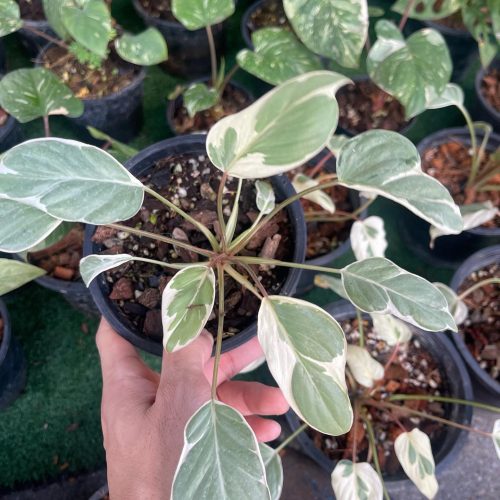
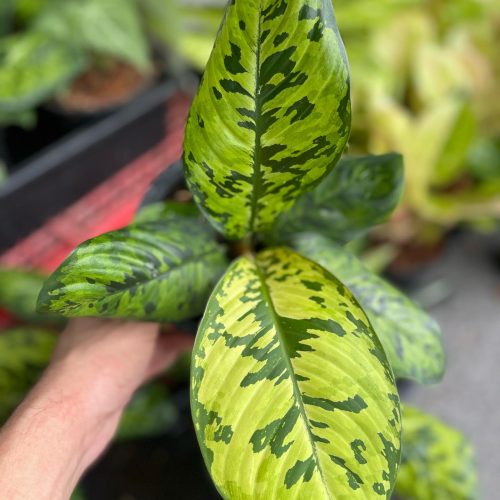
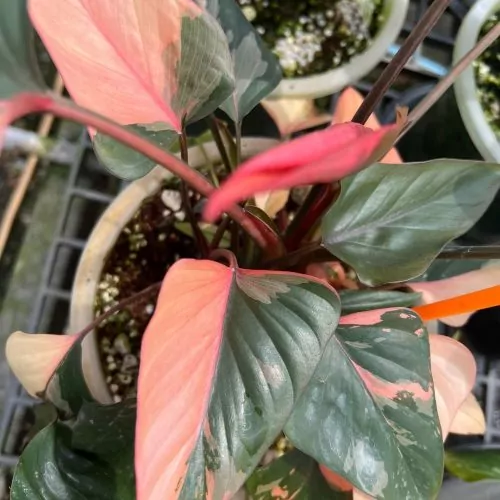
Find Variegated Cuttings
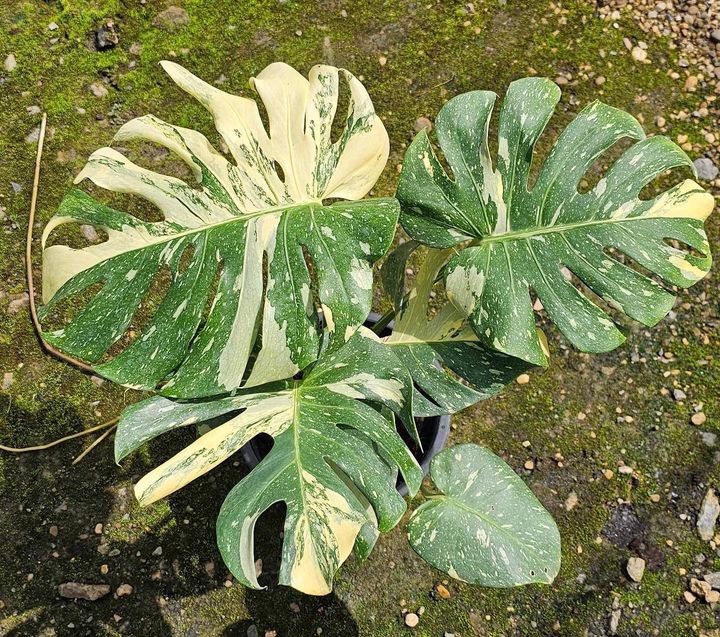
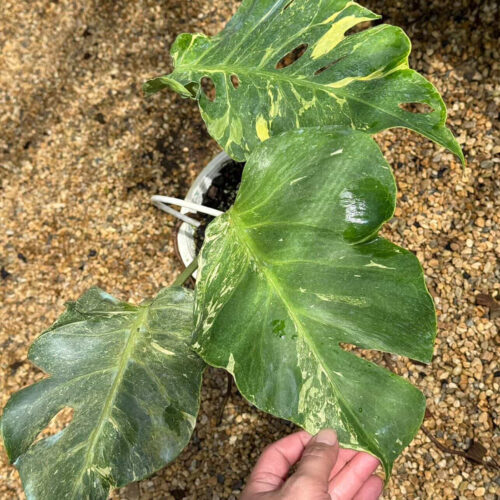
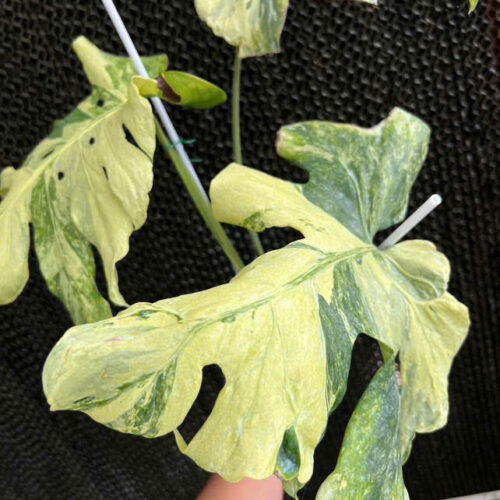
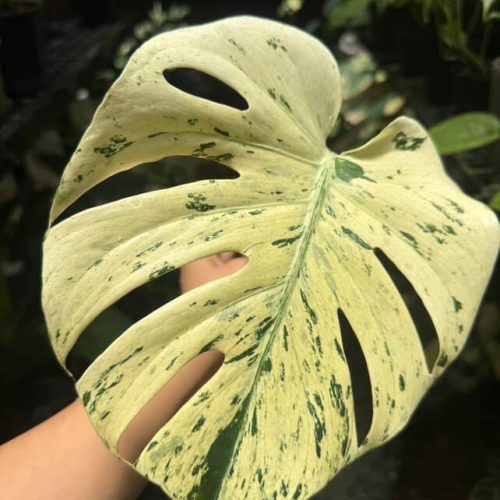
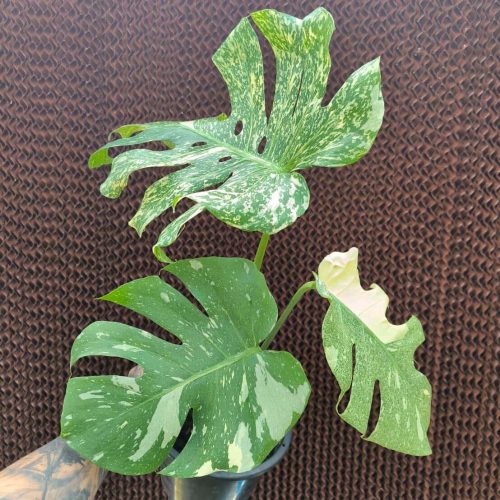
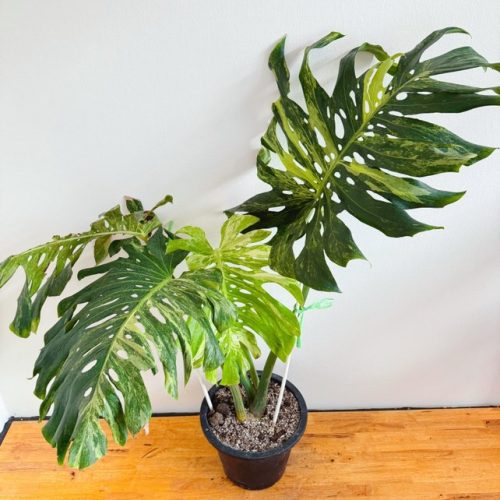
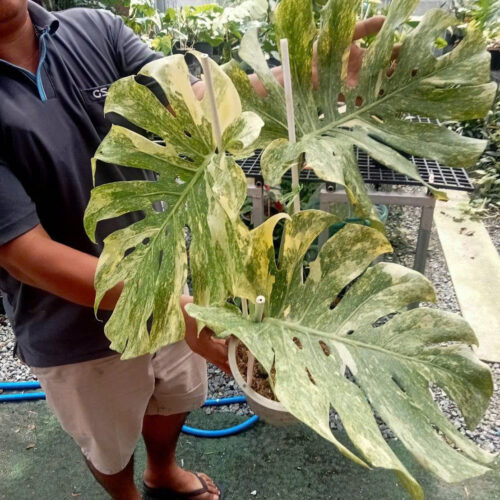
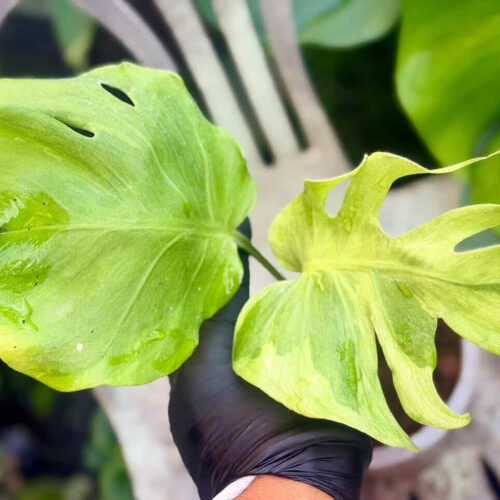
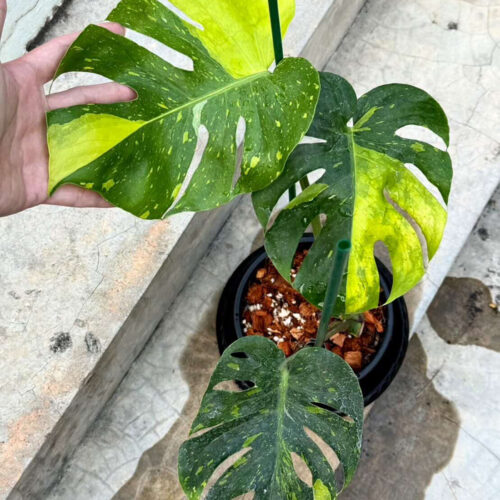
Since the Thai Constellation is so coveted for its variegated leaves, you’ll want to select a stem that displays good amounts of white painting. Healthy variegation with white splashes and streaks indicates higher levels of chlorophyll that can help power new leaf and root growth. All-green leaves may root successfully too, but the resulting plants won’t display the prized variegation. Check the stem for at least 3 variegated leaves before propagating.
Preparing the Cutting
Sterilize Your Tools
Before taking any cuttings, sterilize your gardening shears or knife by wiping the blades with rubbing alcohol. This prevents you from transferring bacteria or disease from one plant to another through the open stem wound. Always sterilize your cutting tools between each snip for cleanliness. “Check out essential Monstera care tips for lush, healthy growth.”
Cut Below a Node
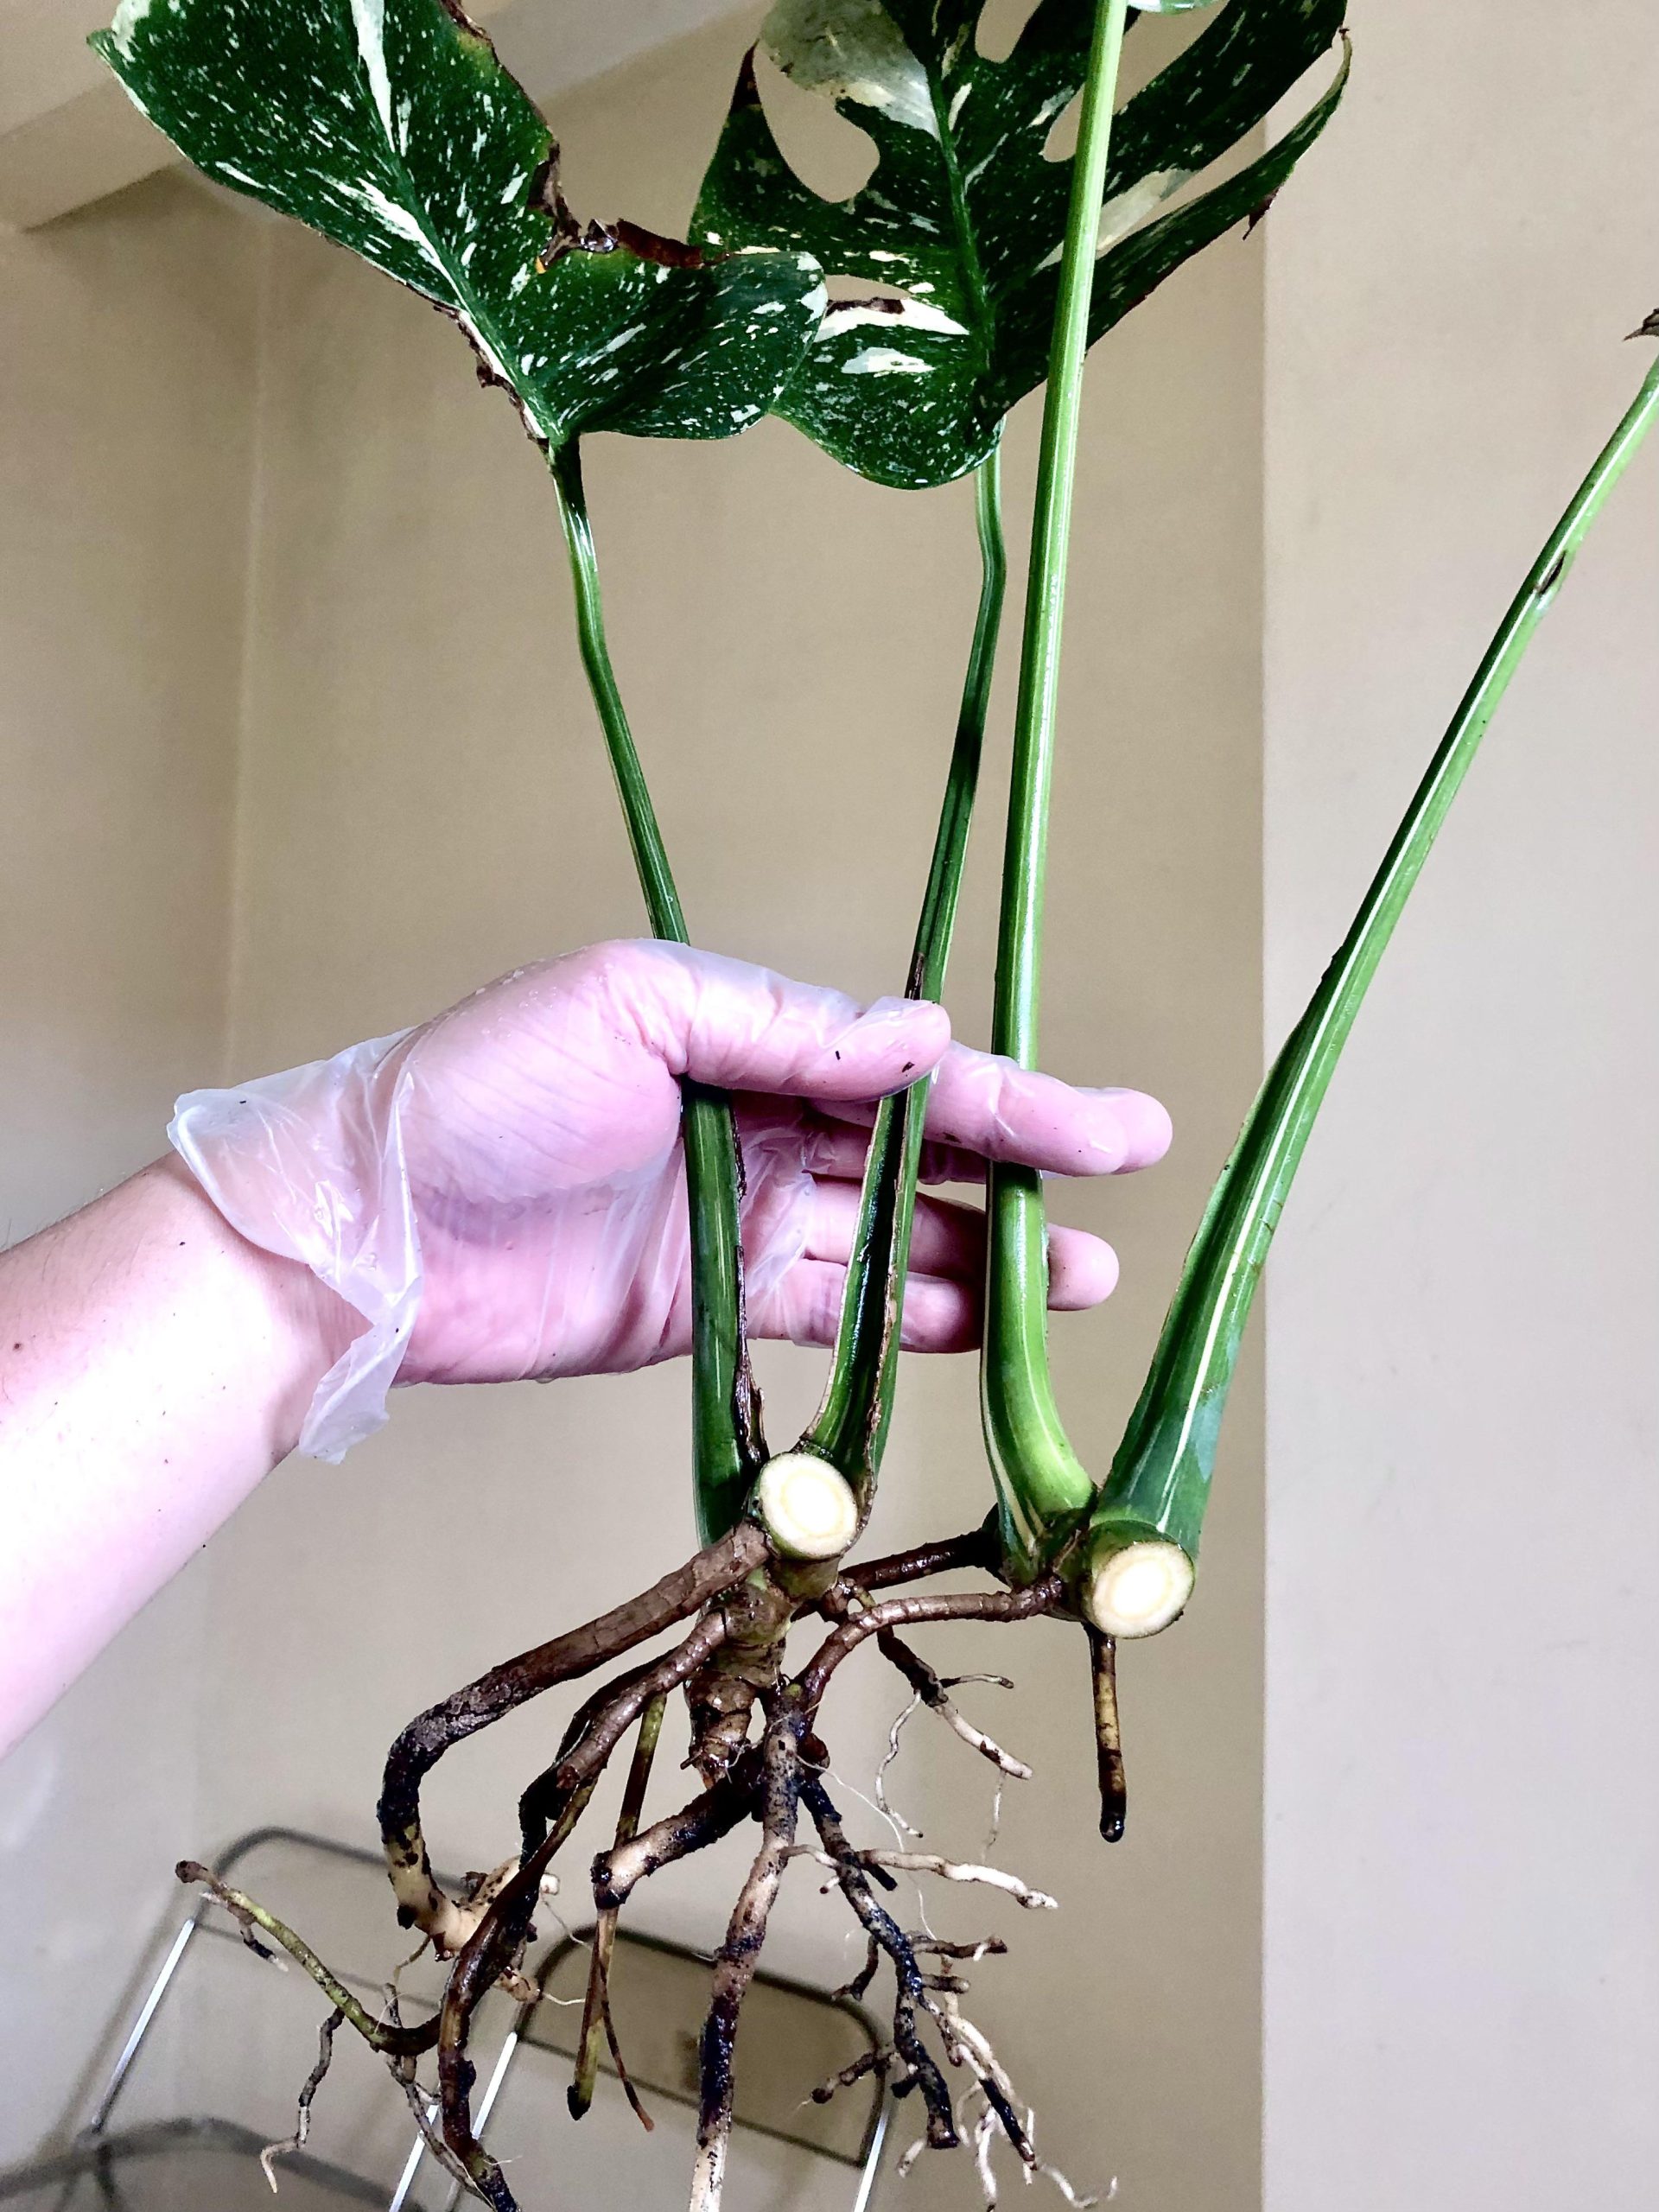
Using your sterilized shears, cut the selected Thai Constellation stem right below a leaf node. Leaf nodes are the point where leaves emerge from the stem. Cutting below the node leaves a wound where aerial roots can later develop. Make the cut at a 45 degree angle to increase the surface area where new roots will grow. “Learn how to properly cut and care for your Monstera plant.”
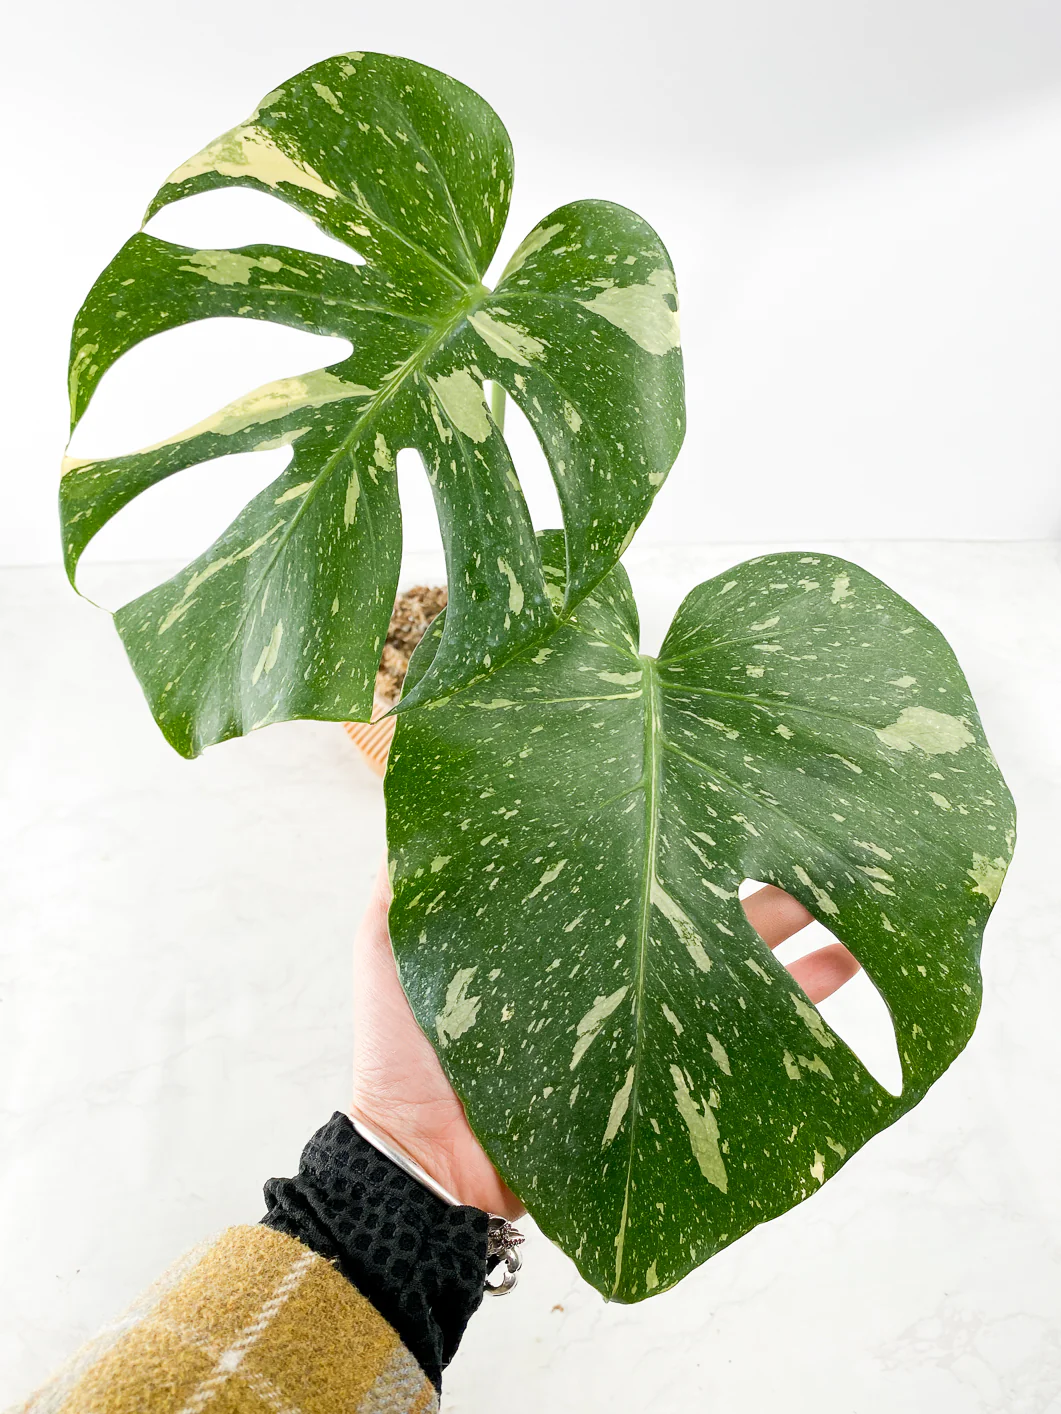
“Discover the unique charm of Monstera Thai Constellation today and elevate your space with its stunning foliage. Click to shop now and bring this exotic beauty home!”
Rooting Your Cutting
Use Rooting Hormone
To encourage faster root development, apply a rooting hormone like an auxin powder to the wet stem of your cutting before planting. Rooting hormones stimulate cell division and growth and signal to the stem that it’s time to produce new roots. This drastically increases your chances of successfully propagating variegated TC cuttings. “Find out why Thai Constellation Monstera is so rare and valuable.”
Plant in Loose Media
Stick your treated Monstera cutting 1-3 inches deep in a propagation medium like perlite, peat moss, or vermiculite. This remains loose and airy enough for new roots to easily grow. Plant your cutting in a small pot or propagation box and water sparingly to prevent rotting. Cover with a plastic bag to maintain high humidity around the cutting. Explore other tropical beauties like Philodendron and Epipremnum that thrive in similar conditions.
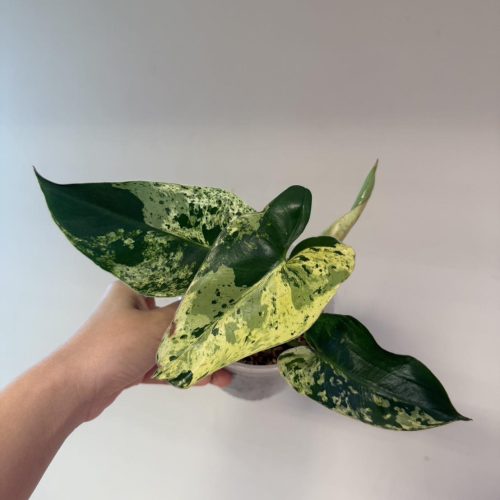
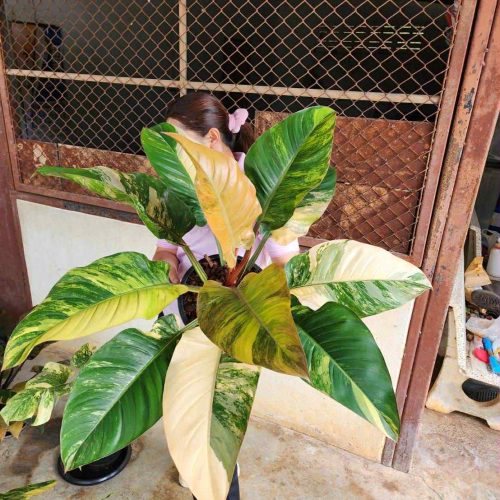
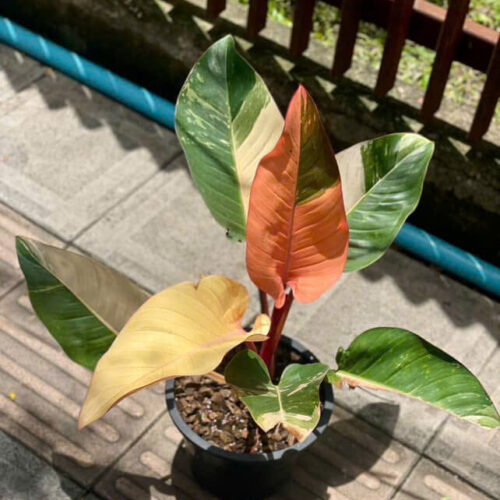
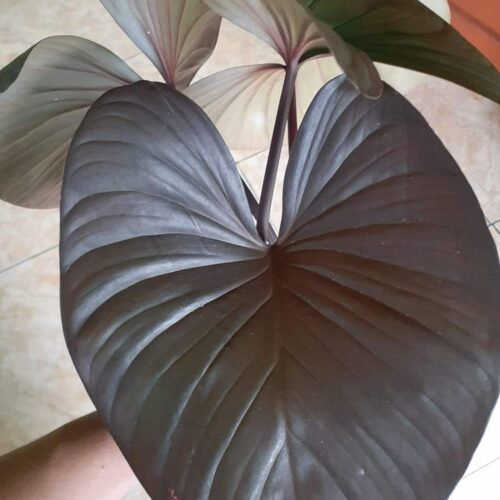
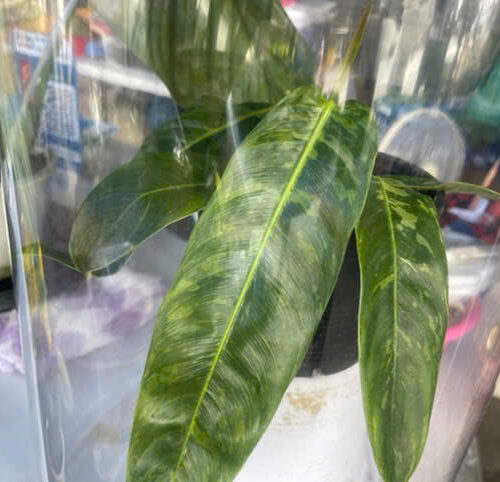
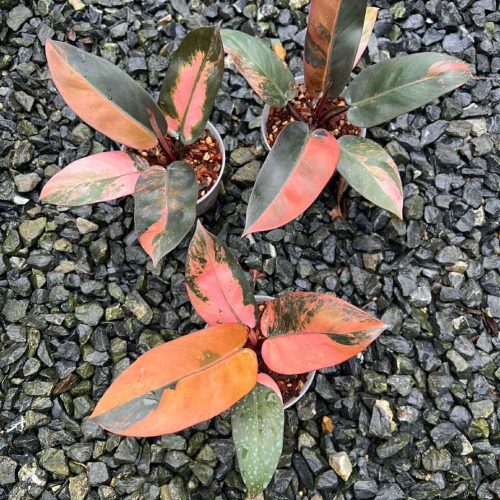
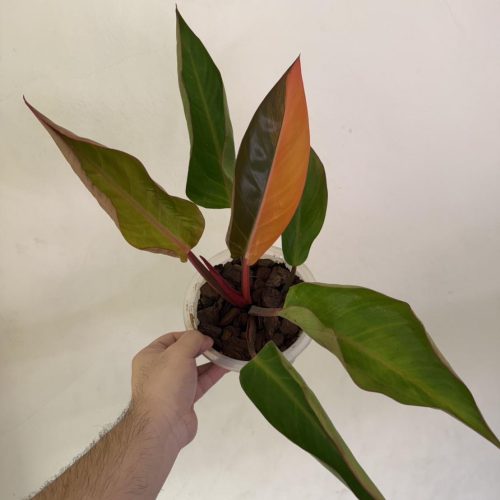
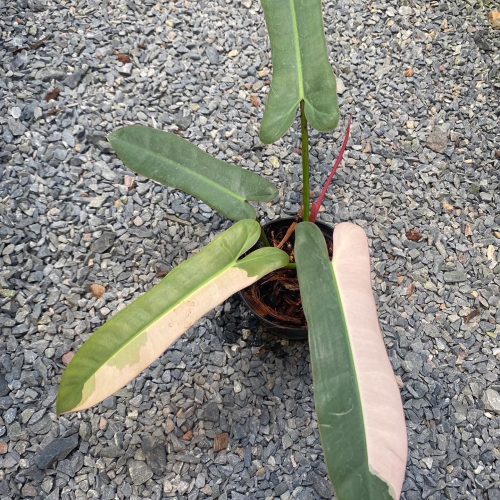
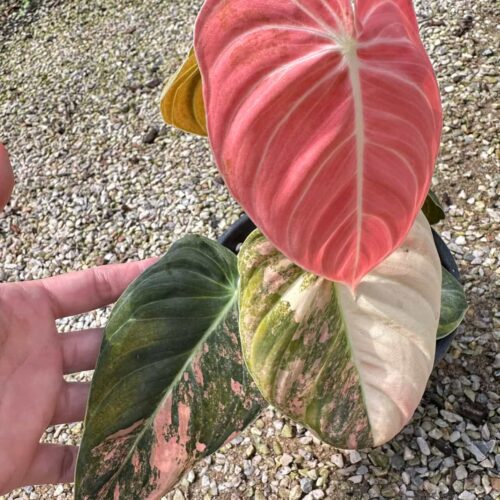
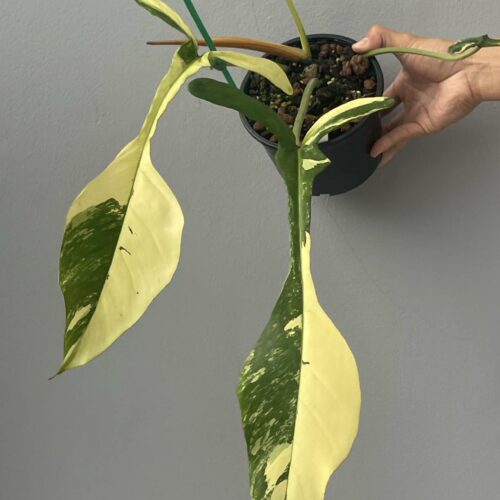
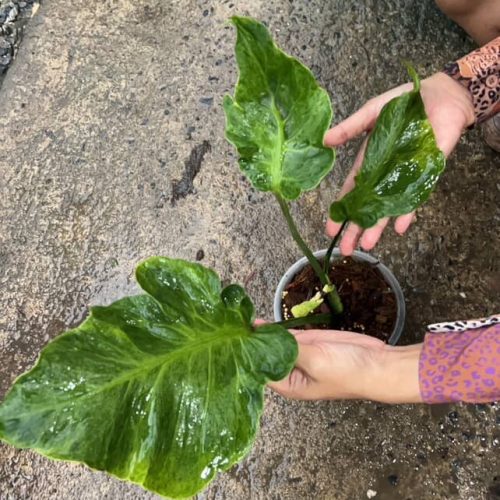
![Philodendron Red Congo Variegated [Actual plant]](https://greenboog.com/wp-content/uploads/2023/12/Philodendron-Red-Congo-Variegated-No-2-500x500.jpg)
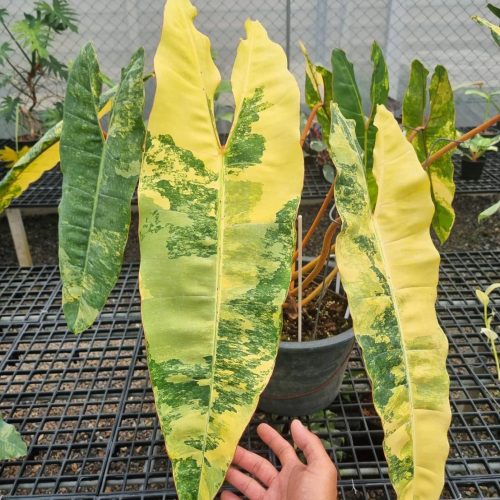
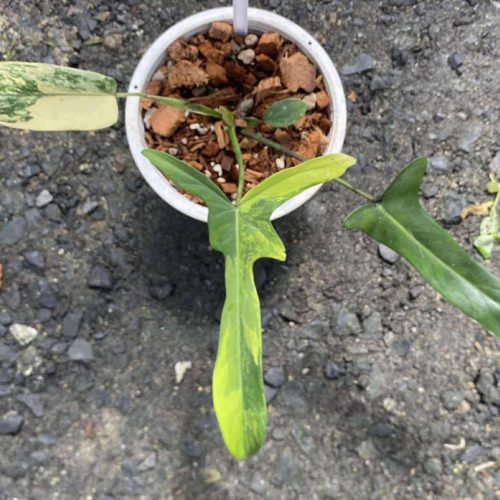

Caring for New Growth
Gradually Hardening Off
Once your Thai Constellation cutting has developed an established root system and shows new leaf growth, it’s time to slowly acclimate it from its sheltered propagation environment to normal indoor conditions. Do this by gradually opening the plastic more each day while monitoring for signs of stress like wilting or leaf yellowing.
Repotting Your Plantlet
After 4-8 weeks of growing strongly in its propagation vessel, repot your newly propagated TC plantlet into its own potting mix and container. Choose one with drainage holes and use a well-aerated aroid mix amended with perlite, orchid bark. Water when the top few inches become dry and fertilize very sparingly at first as the new plant establishes.
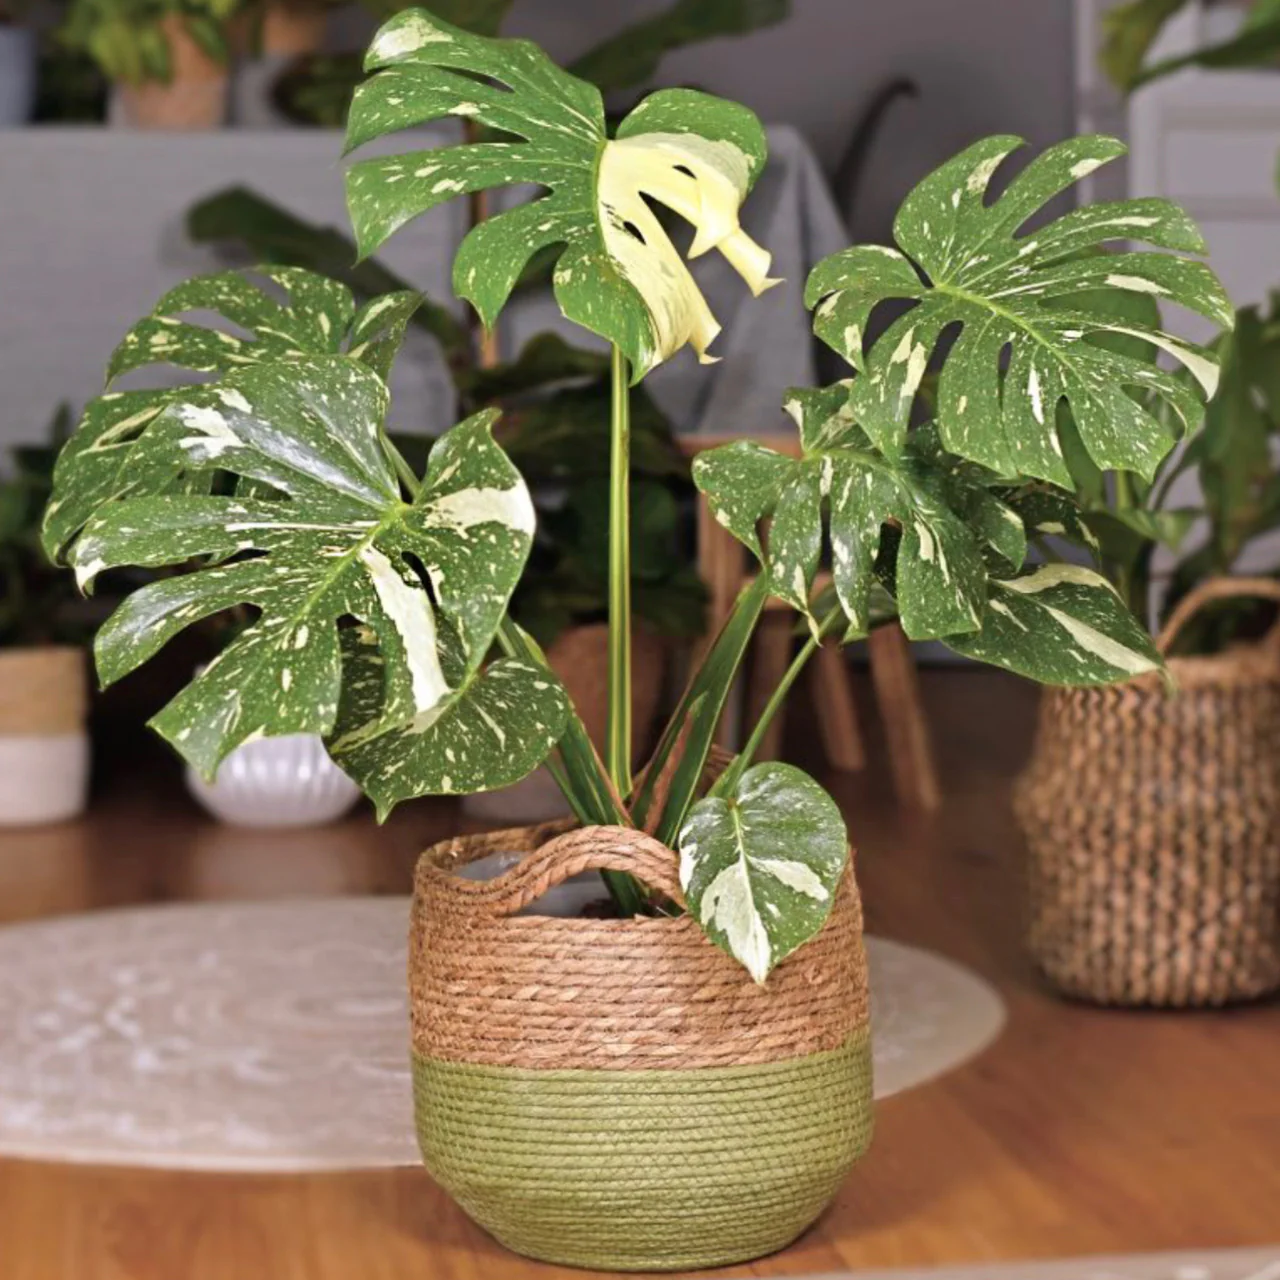
Troubleshooting Propagation Issues
Stem Rot
If your cutting becomes slimy, dark, or foul-smelling before it can root, stem rot has set in from too much moisture. To prevent this, always sterilize and use sharp cuttings tools, plant in airy media, water minimally at first. Remove affected cuttings right away and propagating a new, clean stem instead.
No New Growth
It’s normal for cuttings to take a while to show new leaves or roots, but if weeks go by with no visible changes, your propagation has likely stalled. Try a fresh cutting, change to a different rooting media, use a rooting hormone. Don’t overwater, provide plenty of humidity and bright indirect light.
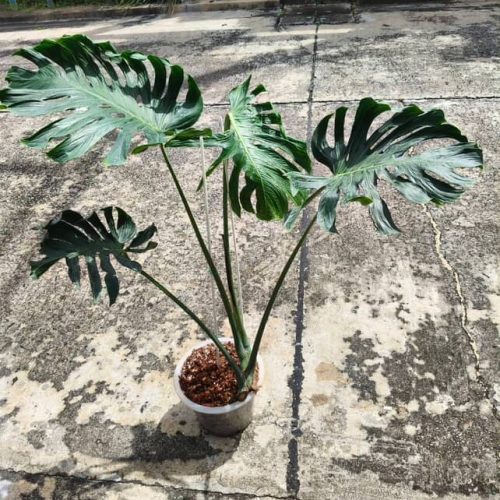
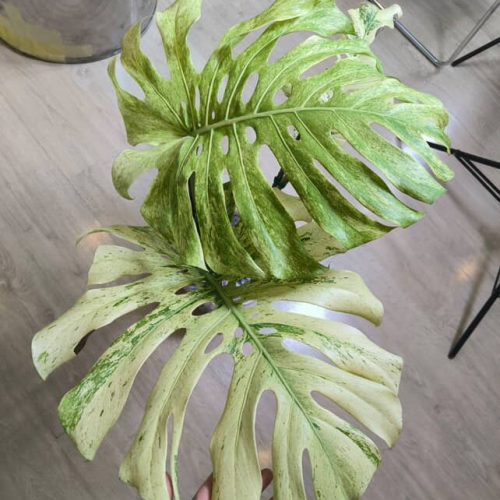
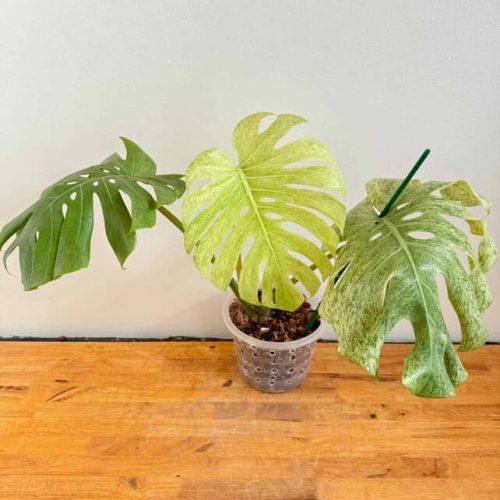
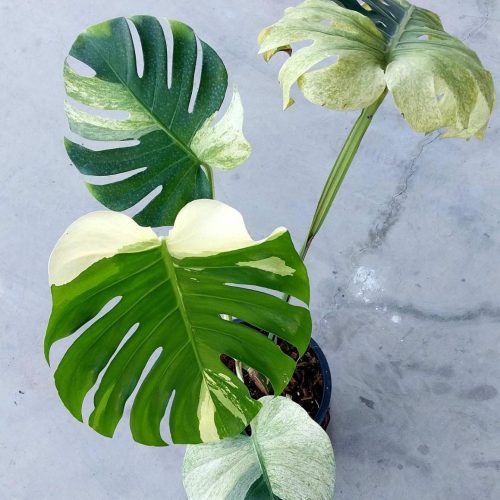
Monstera species are the most sought after by aroid plant lovers
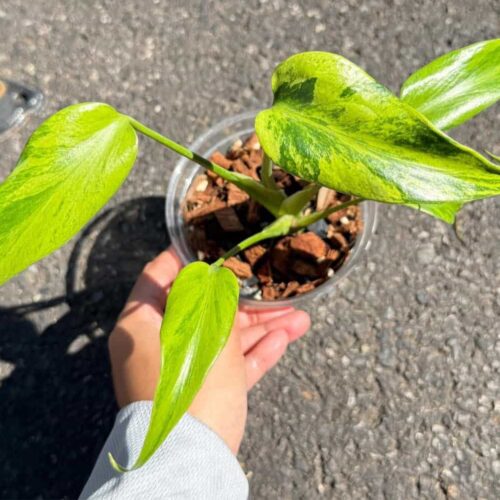
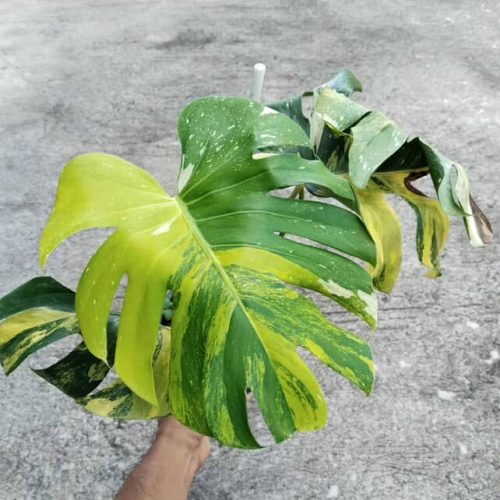

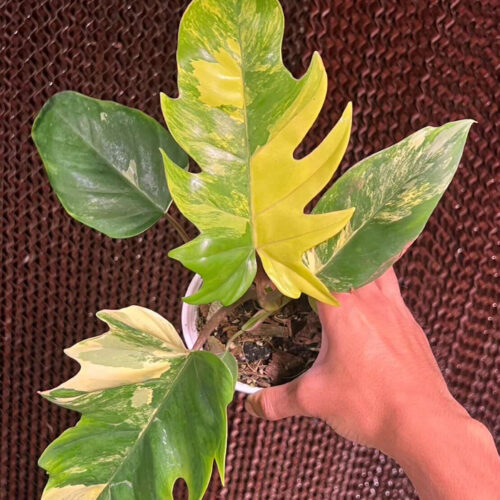
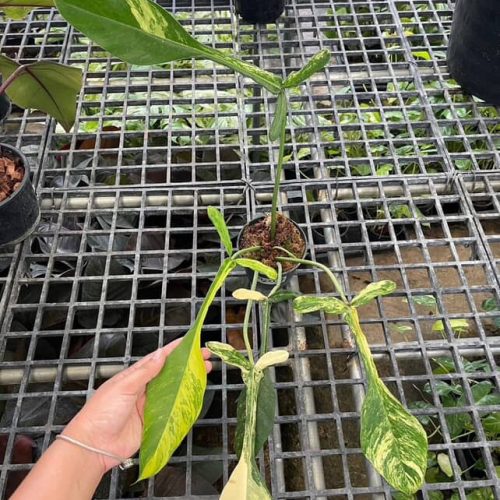
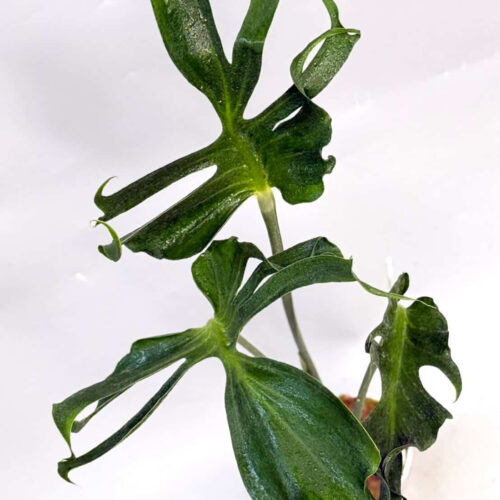
![12x Monstera Borsigiana Albo half leaves variegata [3-4 leaves]](https://greenboog.com/wp-content/uploads/2024/10/Monstera-Borsigiana-Albo-half-leaves-variegata-1-500x500.jpg)


Conclusion
Propagating Thai Constellation Monsteras provides an affordable way to add more of these gorgeous variegated plants to your indoor jungle. Have patience, use proper sterile practices, provide high humidity and decent lighting, and you’ll have baby TC clones rooting in no time. Follow these key steps for monstera propagation success!
FAQ
- How do I propagate Monstera Thai Constellation?
- Answer: You can propagate Monstera Thai Constellation through stem cuttings, which can be rooted in water or directly in soil. Make sure to choose a healthy stem with variegated leaves for the best results.
- What is the best time to propagate Monstera Thai Constellation?
- Answer: The best time to propagate Monstera Thai Constellation is during the spring or early summer when the plant is actively growing. This period provides the ideal conditions for successful propagation.
- Can I propagate Monstera Thai Constellation in water?
- Answer: Yes, you can propagate Monstera Thai Constellation in water. Place the stem cutting with a few nodes in a container of water and wait for roots to develop before transferring it to soil.
- How long does it take for Monstera Thai Constellation cuttings to root?
- Answer: It typically takes several weeks to a few months for Monstera Thai Constellation cuttings to develop enough roots for transplanting. Be patient, as the rooting process can vary depending on environmental factors.
- What are the care tips for propagated Monstera Thai Constellation?
- Answer: After propagating and transplanting your Monstera Thai Constellation, provide it with bright, indirect light, keep the soil consistently moist but not waterlogged, and maintain a warm and humid environment for optimal growth.
See more Monstera Albo vs Thai Constellation: 4 Differences to Know!