Monstera Albo propagation guide
A successful cutting starts before the first root: confirm a viable node and bud, choose a method you can monitor, and pot up only when the new root system can support a growing shoot.

Confirm the cutting can produce a new vine
| Structure | What to verify | Decision |
|---|---|---|
| Node | A distinct stem segment where a petiole or aerial root emerges. | Required. It carries the tissue from which roots and a new shoot can develop. |
| Axillary bud | A small bump or eye near the node; firm, not hollow or collapsing. | Required for the next vine. A node with a destroyed bud may root but never produce a shoot. |
| Aerial root | Firm root nub or longer aerial root without mushy black tissue. | Helpful, but it does not replace a node and bud. |
| Leaf and petiole | Whether any true stem tissue is attached at the base. | A leaf-only cutting can stay decorative for a time but cannot continue as a vine. |
Choose the method by risk and visibility
| Method | Best when | Main trade-off |
|---|---|---|
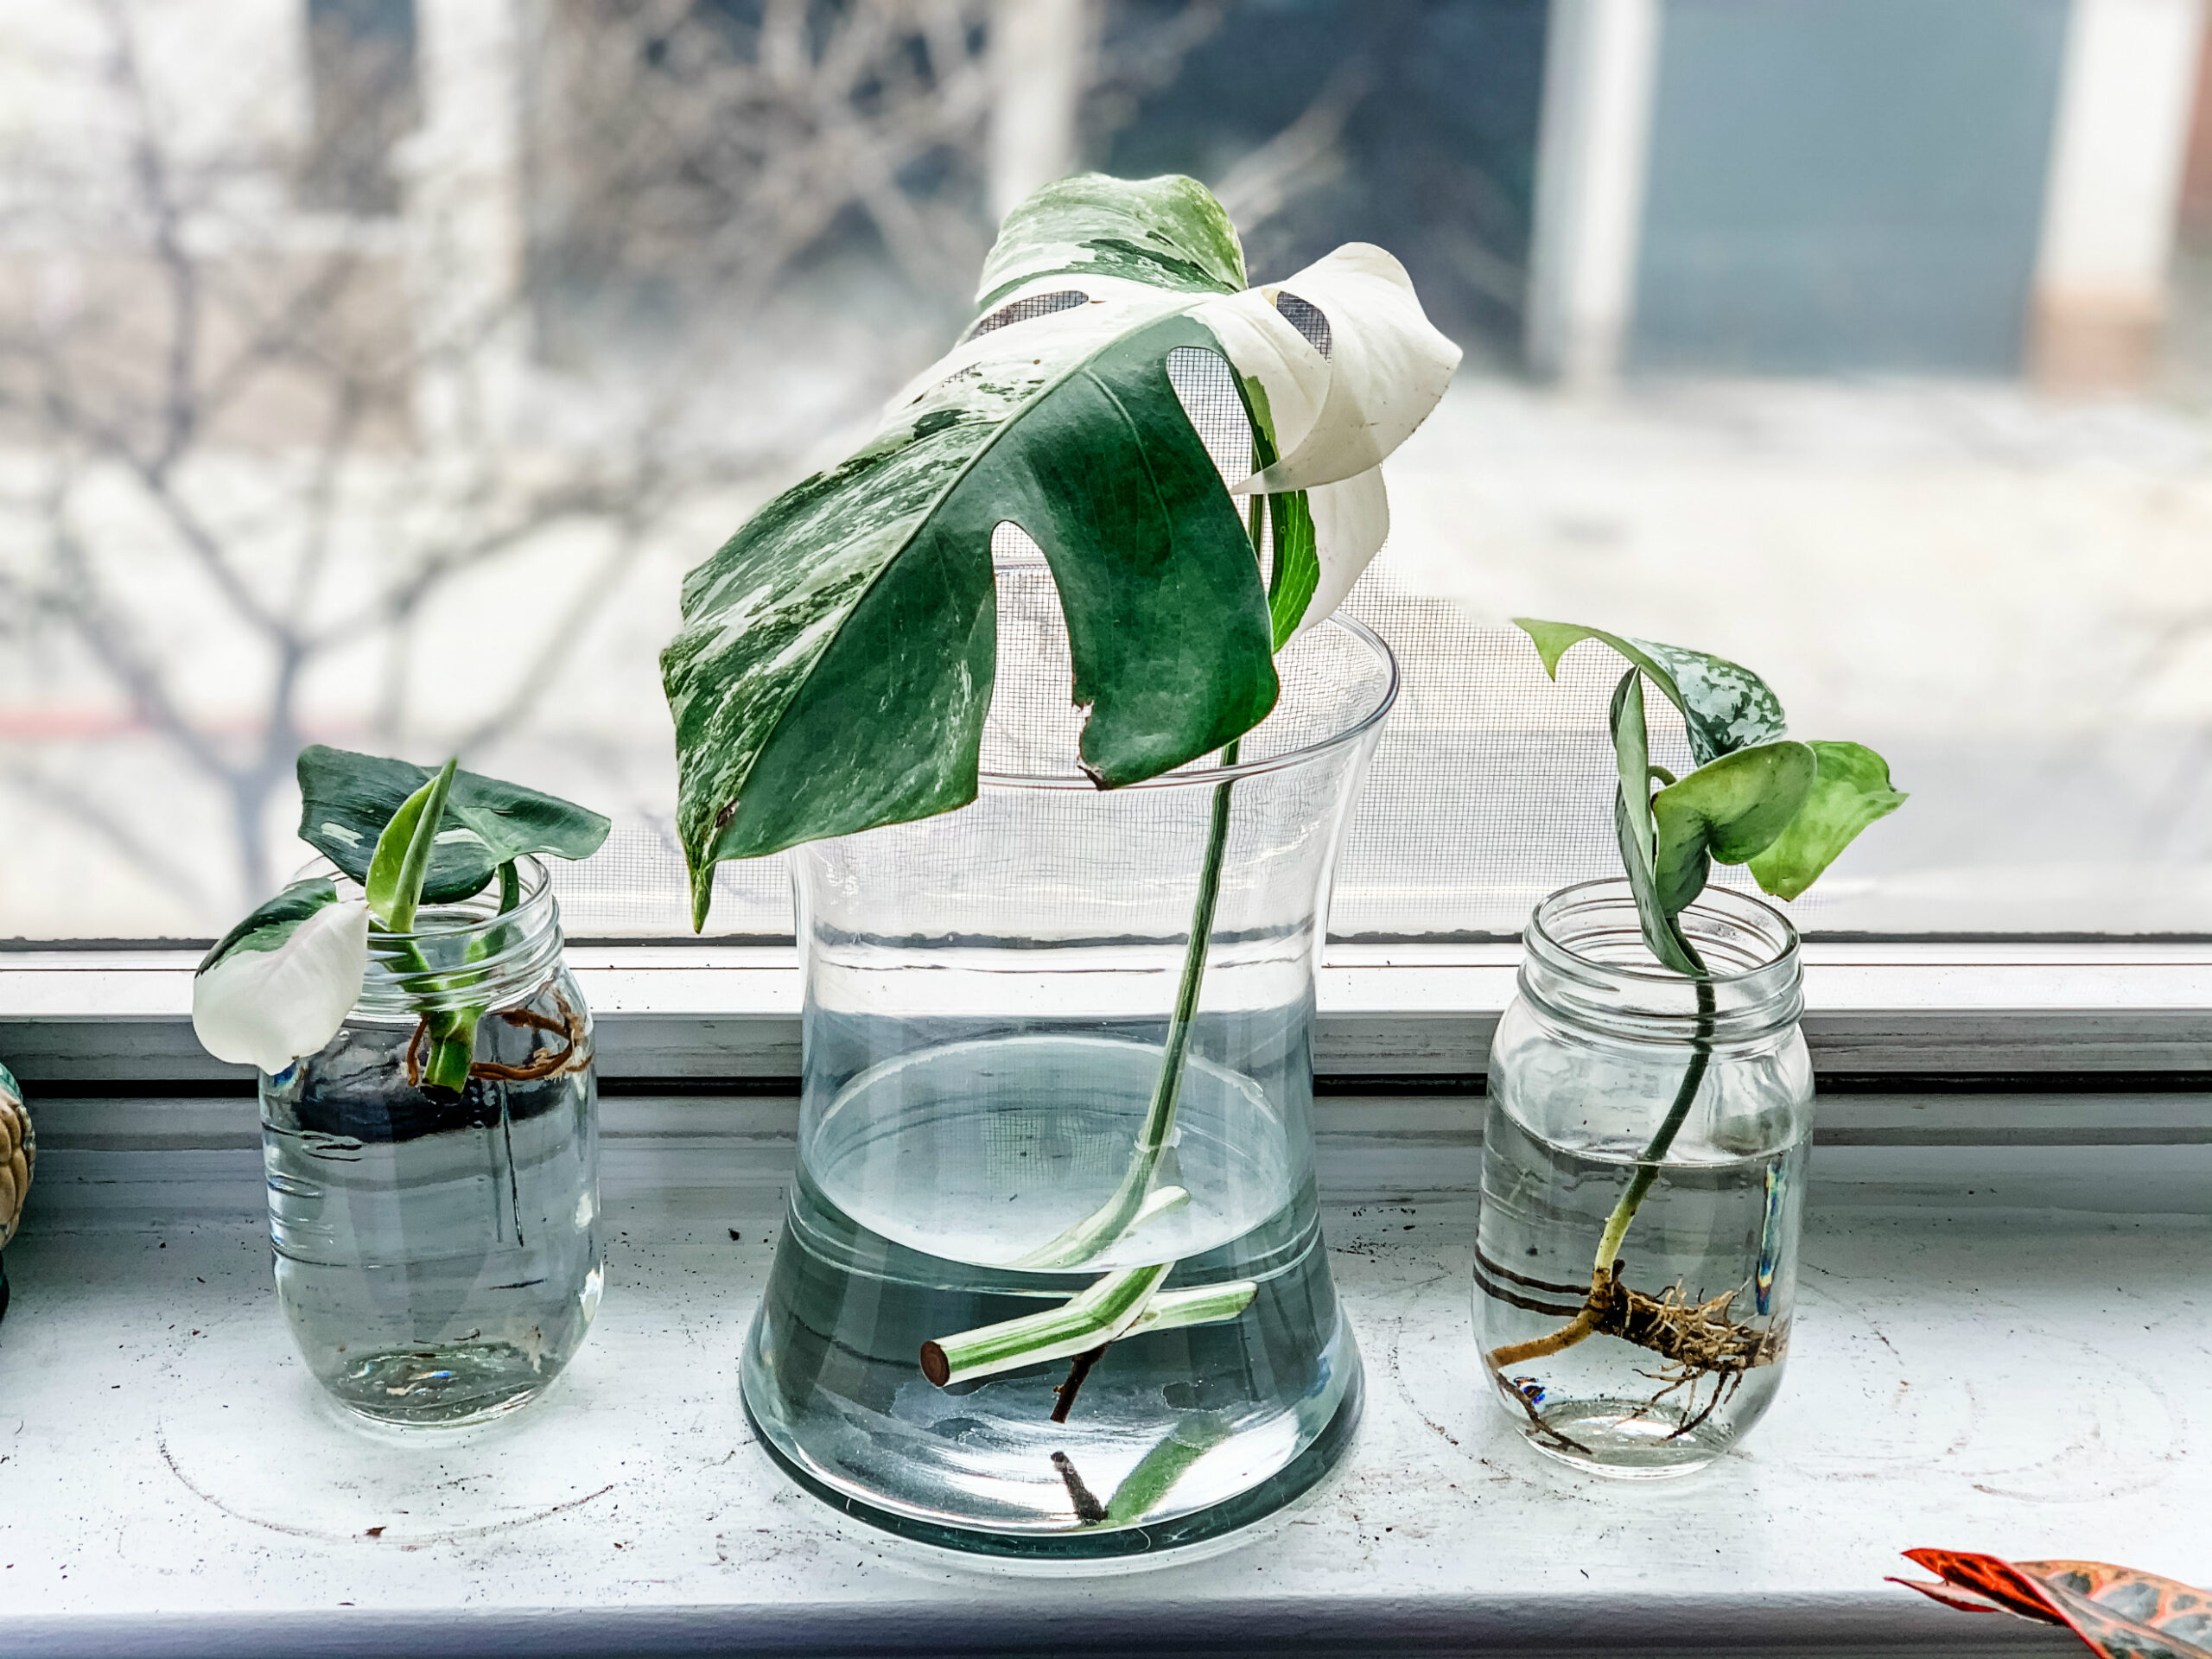
| Water | You want roots and water condition fully visible. | Easy observation, but stagnant water and repeated root disturbance raise risk; water roots must later adapt to a solid medium. |
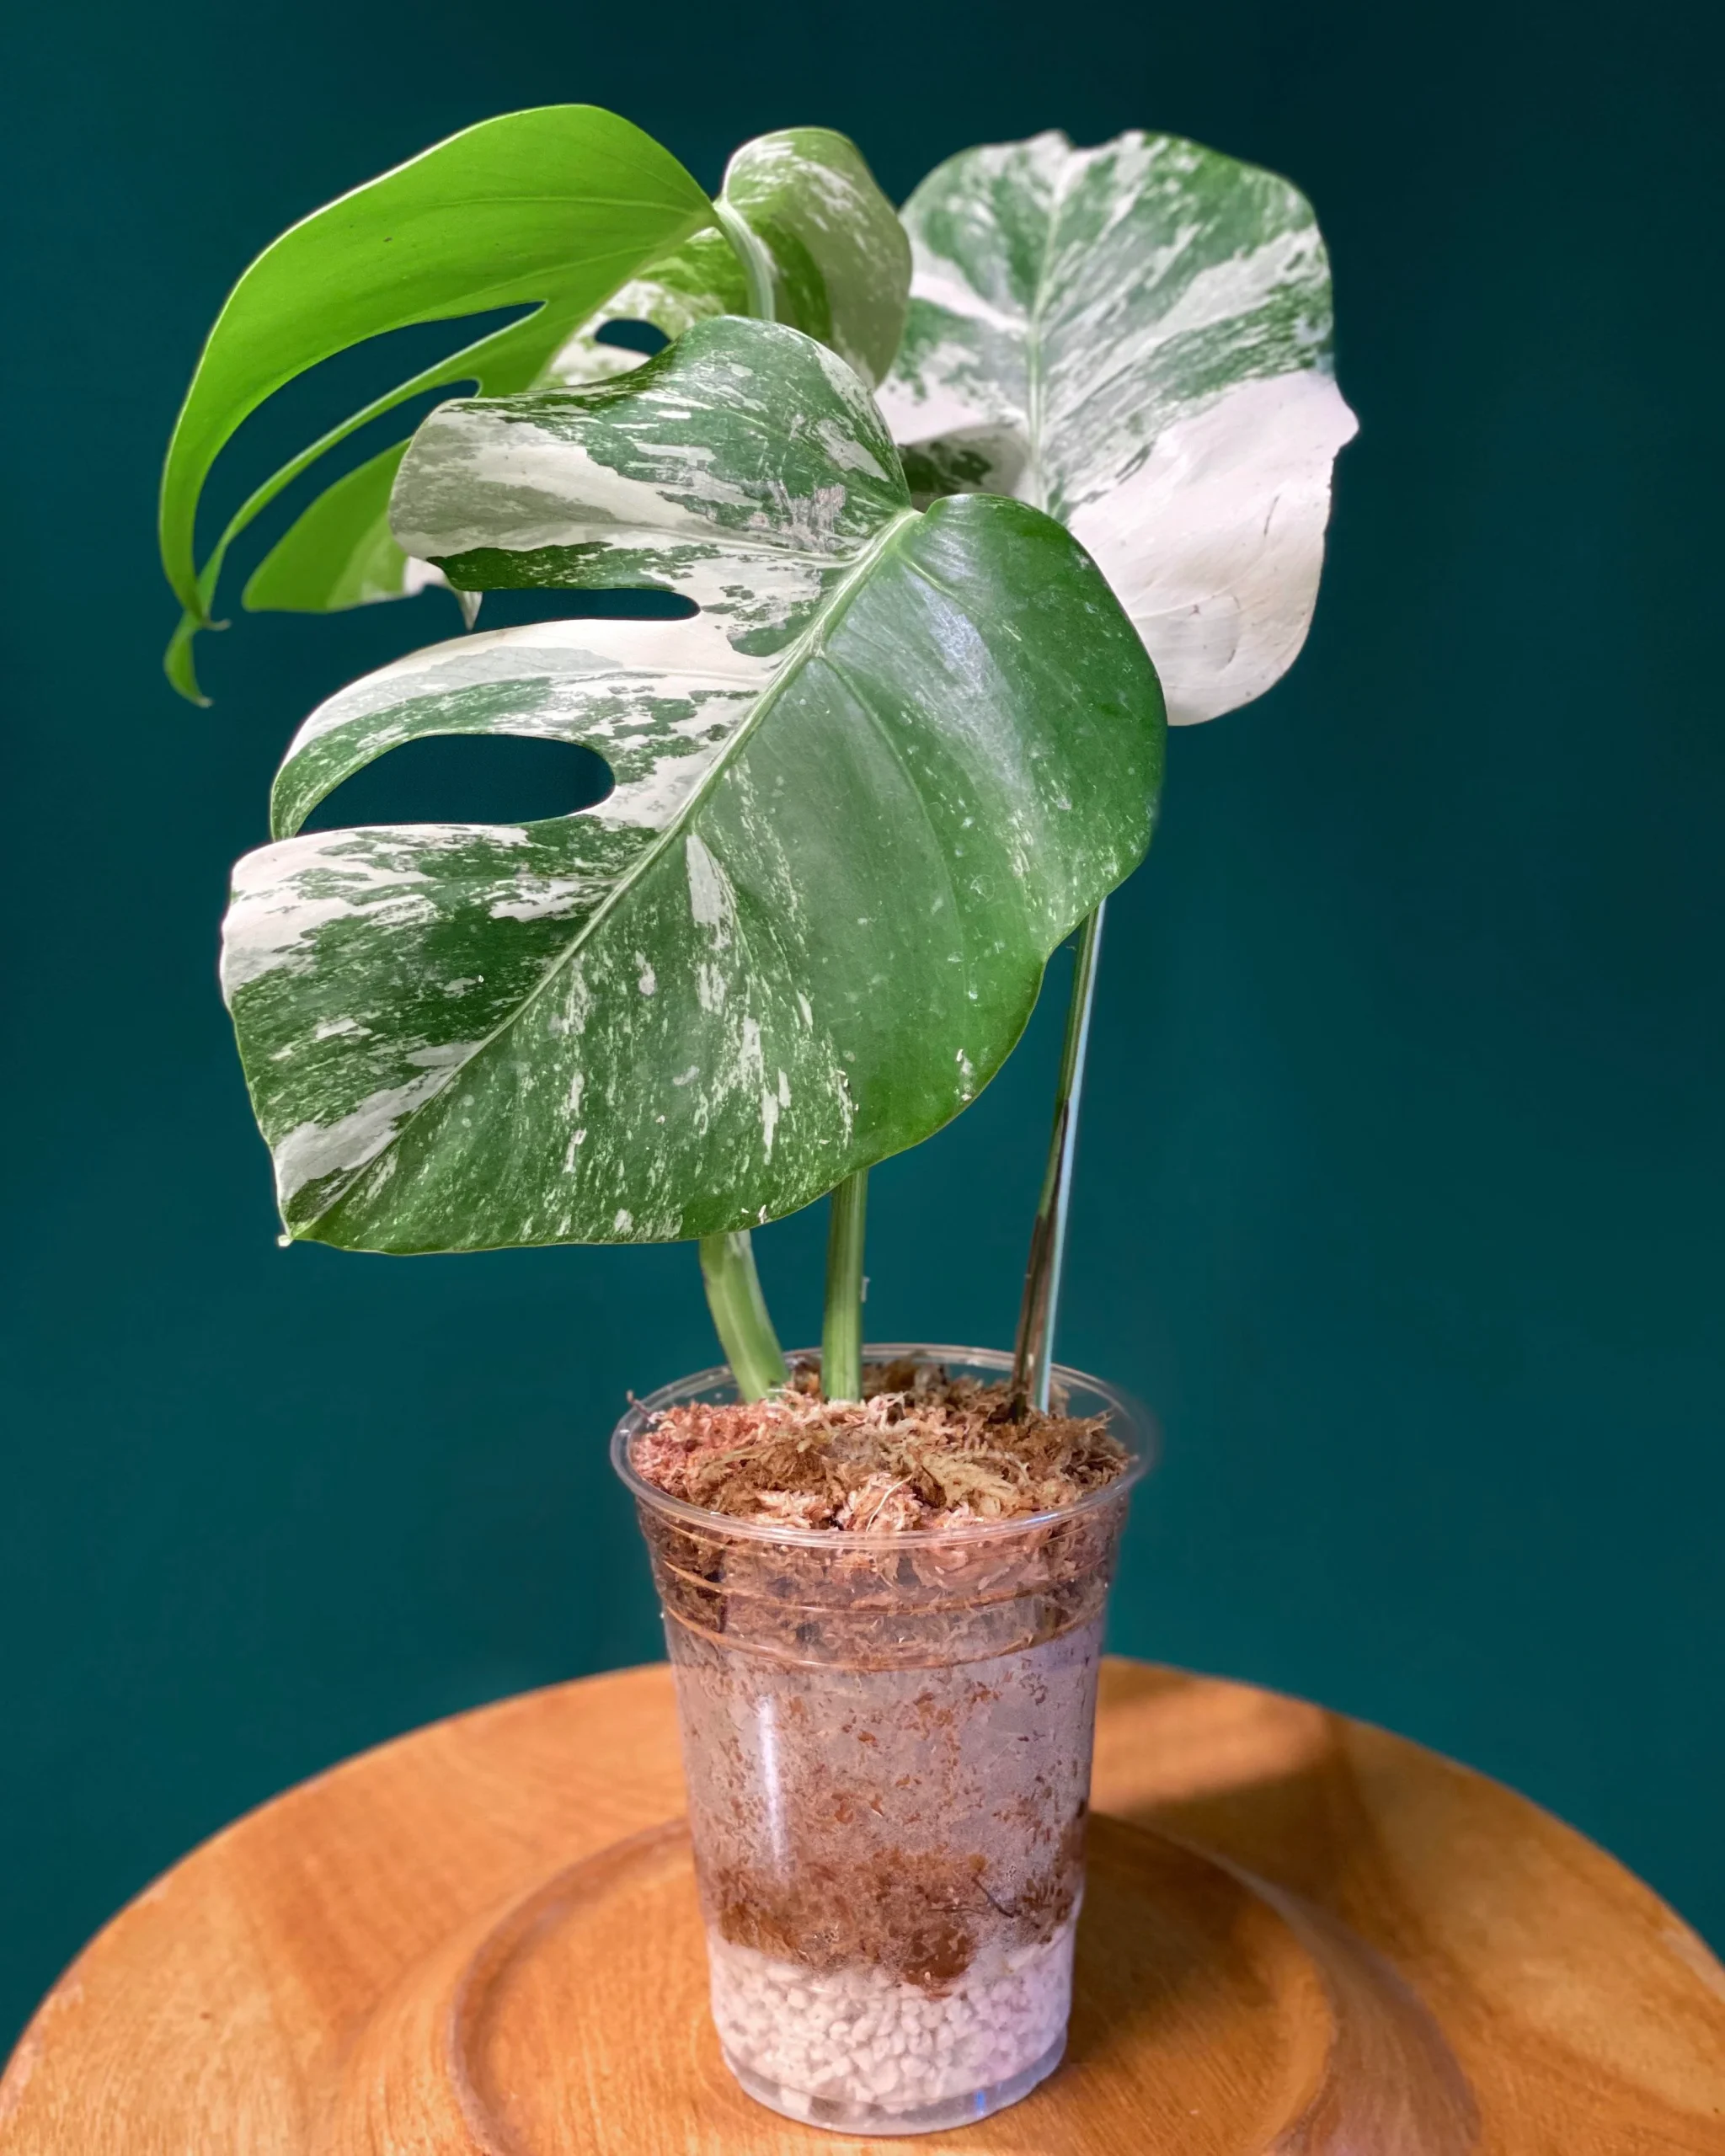
| Airy medium | You can control moisture in sphagnum, perlite or another clean, draining rooting mix. | Roots begin in a physical medium, but excess water can be harder to see. |
| Air layering | The top cutting is valuable and you want roots before detaching it. | Lower separation shock, but the wrap must remain moist and aerated while the mother plant stays healthy. |
Five condition-led propagation steps
- Map the node. Identify the node, axillary bud, aerial root and internodes. Reject a leaf-only piece or a node whose only bud is soft and damaged.
- Make a clean cut. Sterilize a sharp blade and cut through firm internode tissue, leaving handling room around the node. Do not crush the bud or make a flush cut against it.
- Set the orientation. Keep the bud above saturated material. Place the root side toward the medium or water while keeping the petiole and leaf free.
- Hold stable conditions. Provide warmth, bright filtered light and air exchange. Keep the medium evenly moist—not waterlogged—or refresh water when it clouds or smells.
- Wait for a functional system. Look for firm branching roots and an active bud or shoot. Pot up when the cutting can anchor and take up water, not at the first tiny root tip.
Read progress without forcing a deadline
Fresh cut surfaces often darken slightly as they dry; that is not the same as spreading, soft rot. Healthy progress is quieter: the stem stays firm, the bud swells, root tips lengthen and branch, and the cutting begins to use water consistently. University of Minnesota Extension notes that a propagated node may take two to three months before forming a new leaf, so a slow but firm cutting is not automatically failing.
Do not pull a cutting repeatedly to check it. In an opaque medium, test gently for anchoring and inspect only when symptoms justify disturbance. In water, keep the root zone clean and avoid submerging the leaf or petiole.
Diagnose rot, stalling and leaf decline
| What you see | Check first | First safe action |
|---|---|---|
| Soft, spreading black tissue | Where firm tissue begins; odor; water or medium saturation. | Use a sterile blade to remove rot back to firm tissue, then correct moisture and sanitation. |
| Firm node, no visible change | Temperature, usable light, season and whether the bud remains intact. | Stabilize conditions and wait; do not fertilize or recut a firm node just to force speed. |
| Leaf yellows while node stays firm | Root progress, green tissue remaining and whether the leaf is drawing down reserves. | Keep reading the node and roots; leaf loss does not alone prove the propagation is dead. |
| Roots brown but remain firm | Texture and smell, not color alone; some media stain roots. | Leave firm working roots; remove only hollow, slimy or collapsing tissue. |
Pot up when the cutting can manage the transition
Choose a small container with drainage and an airy aroid mix that remains moist without staying saturated. Position the original node at or just above the surface rather than burying the entire stem deeply. Support the cutting so new roots are not torn by leaf movement.
For the first weeks, keep light and temperature similar to the rooting environment. Water thoroughly, let excess drain, then reassess moisture and pot weight before watering again. Delay routine feeding until active root and shoot growth show that the cutting is established.
Where this guide fits in the Albo cluster
This page owns propagation decisions. Use the Monstera Albo care and identity guide for whole-plant care, the Albo light guide for placement and acclimation, and the Albo buyer checklist before paying for a cutting. If the parent plant is declining, follow the Monstera recovery sequence; for brown foliage, use the pattern-based brown-leaf guide.