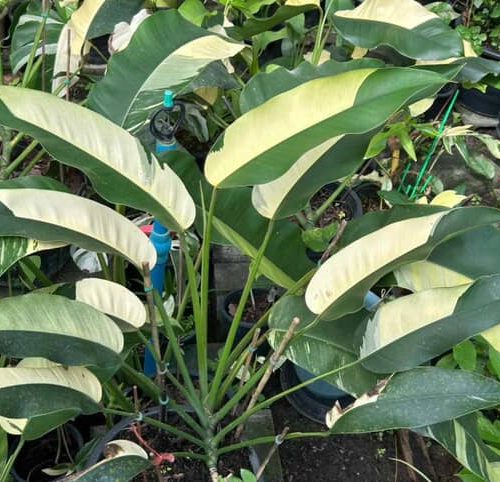
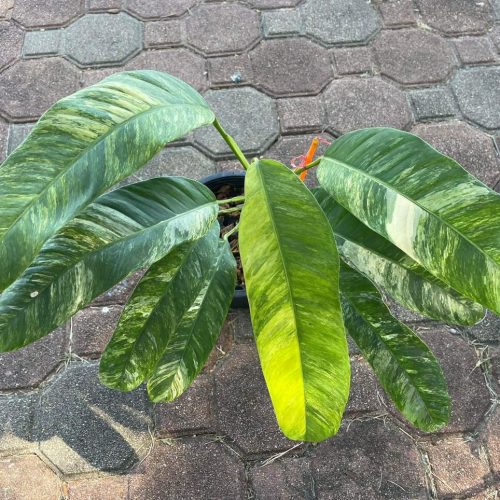
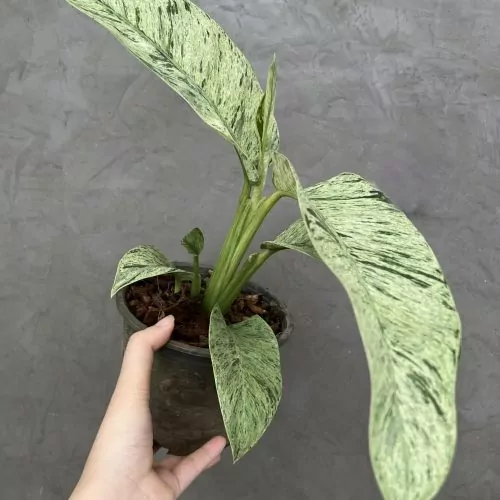
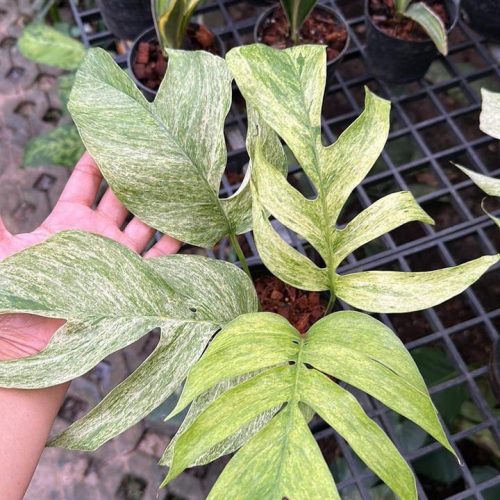
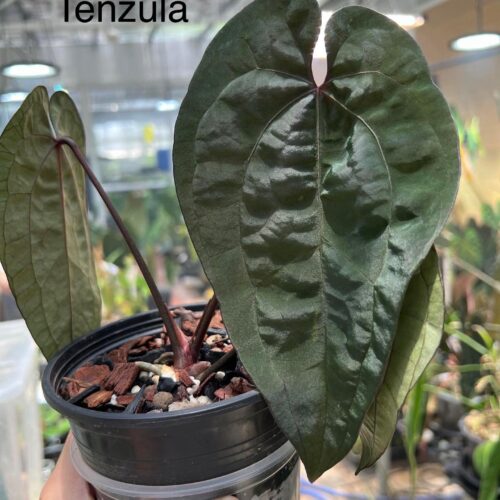
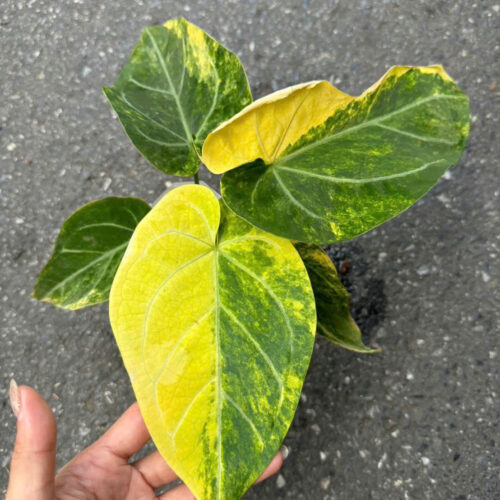
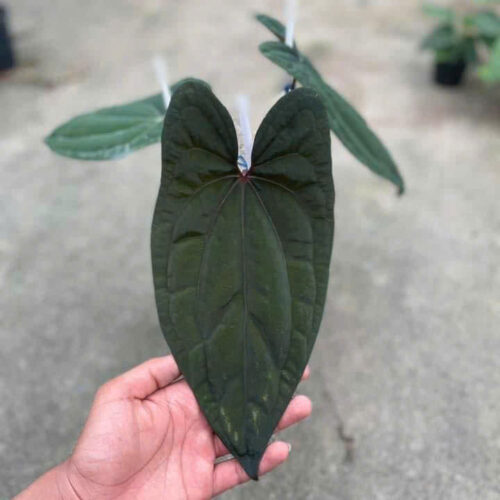
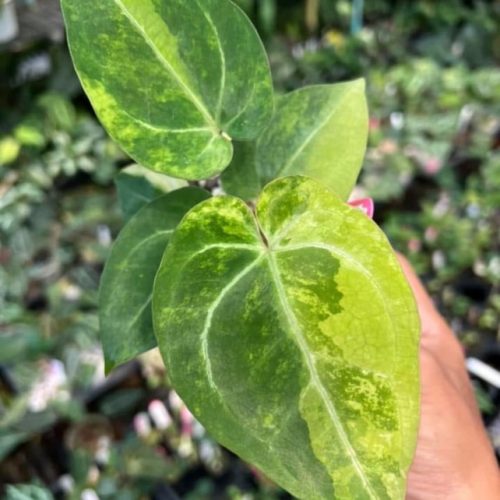
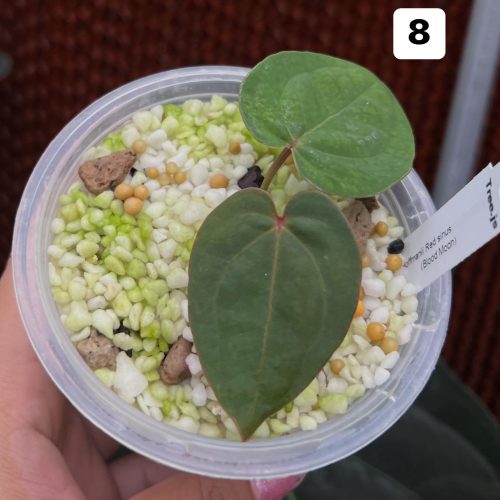
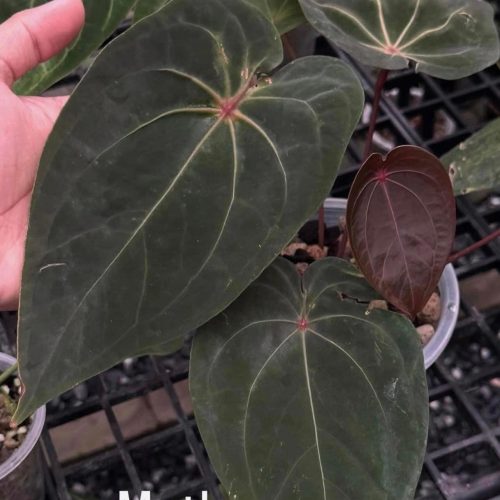
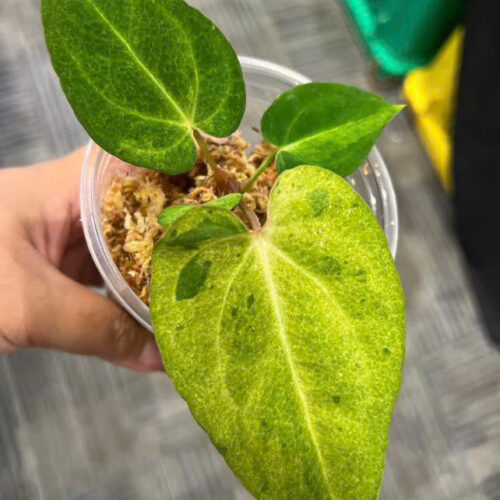
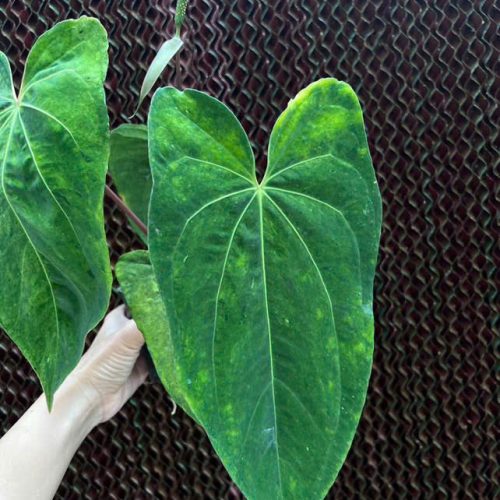
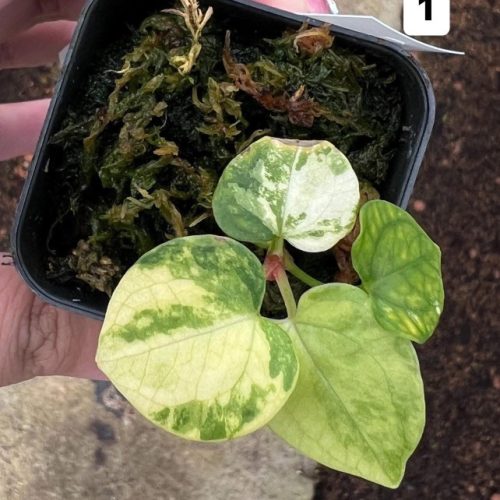
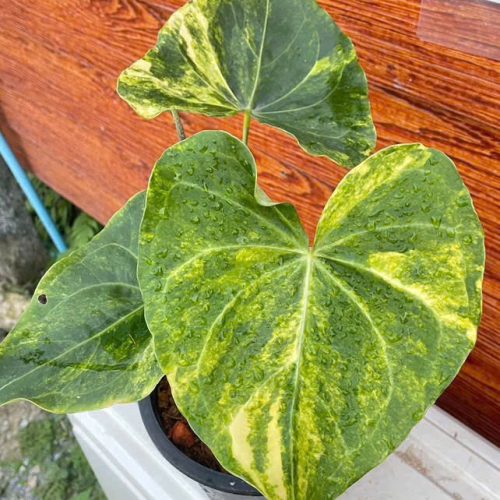
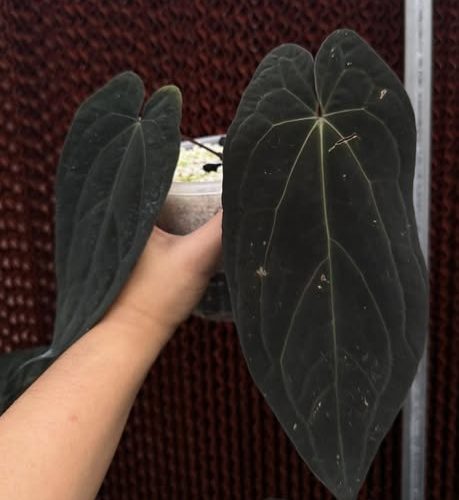
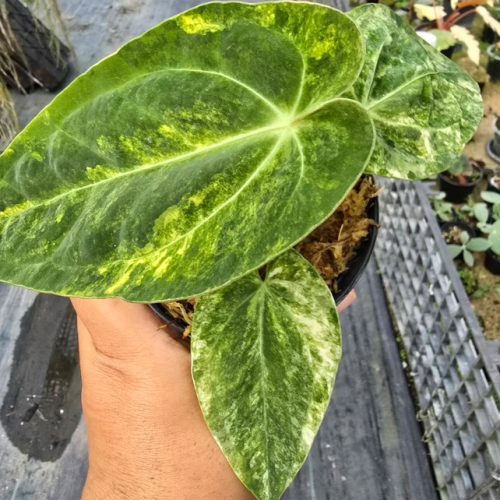
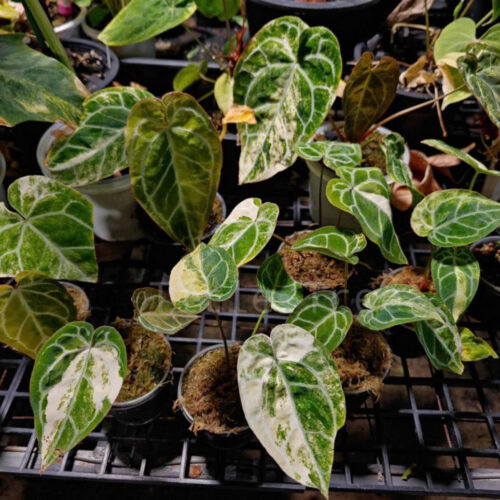
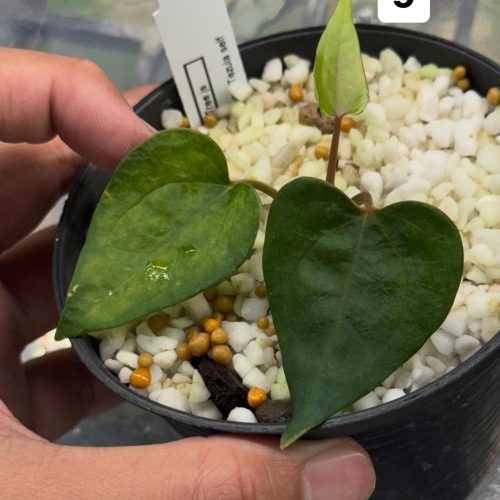
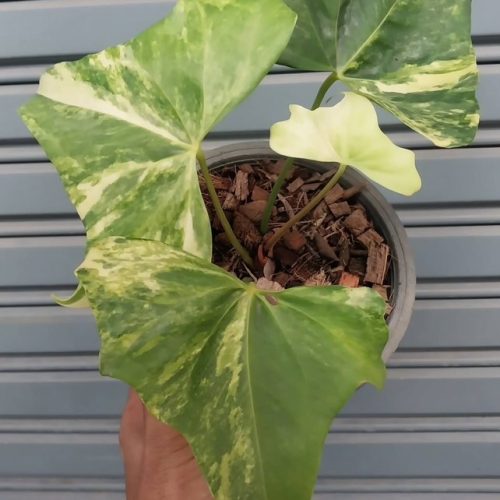
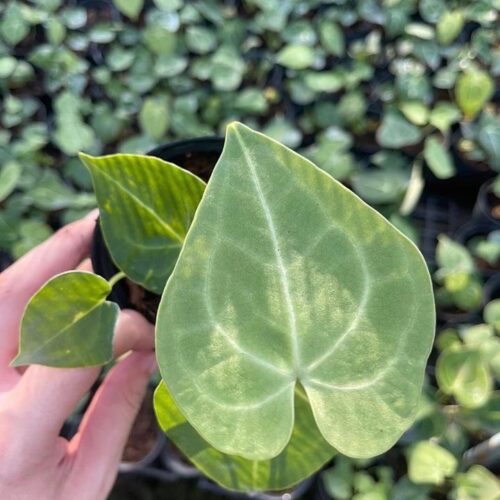
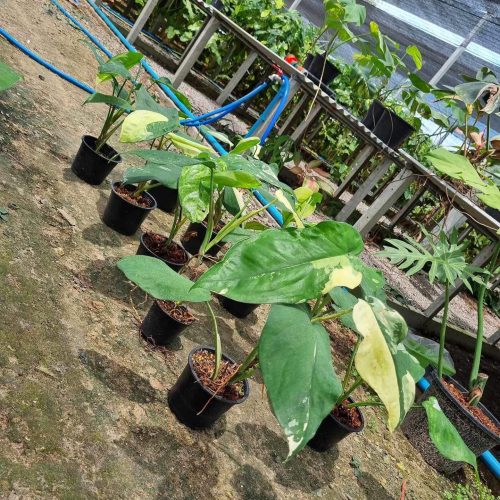
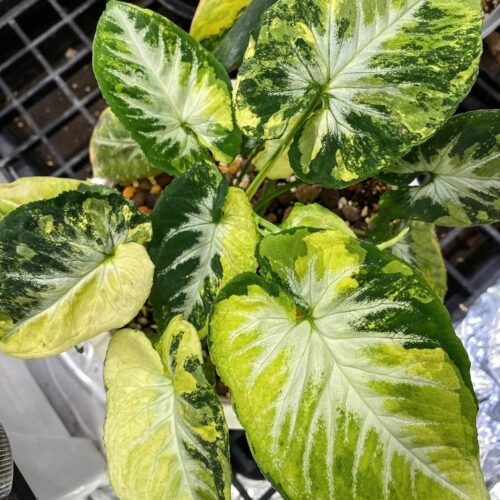
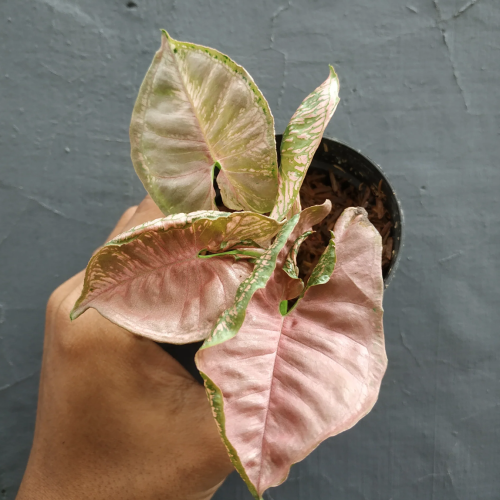
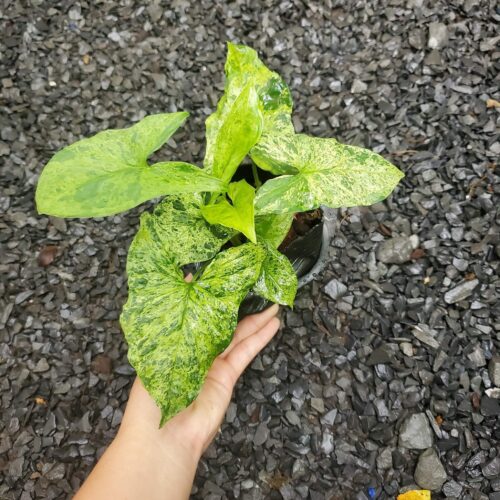
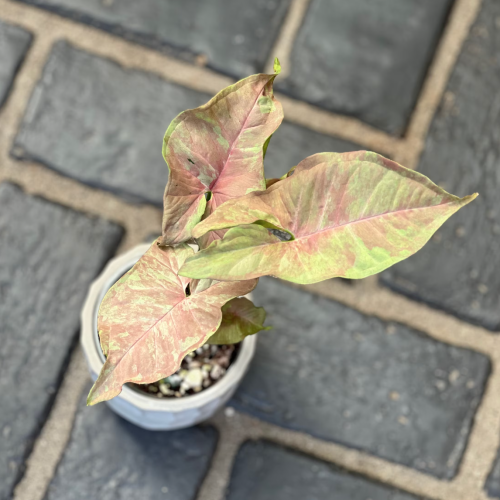
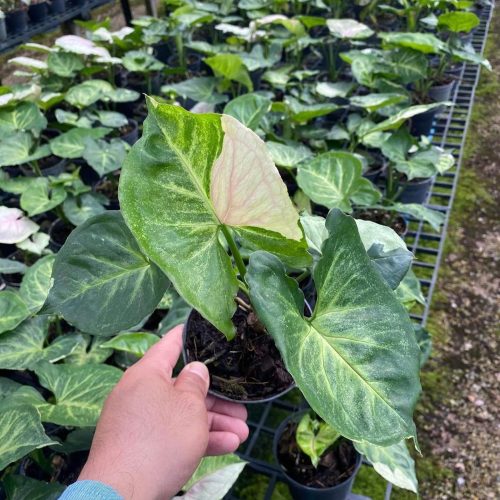
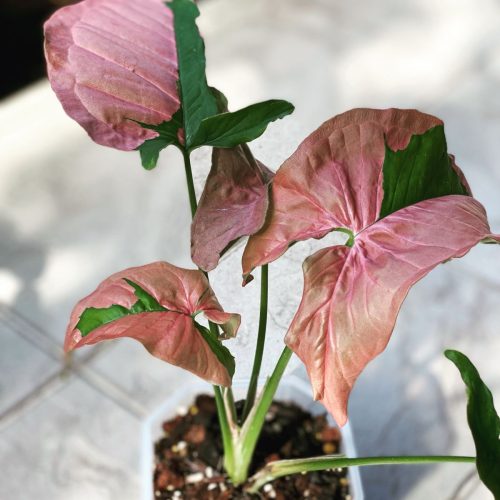
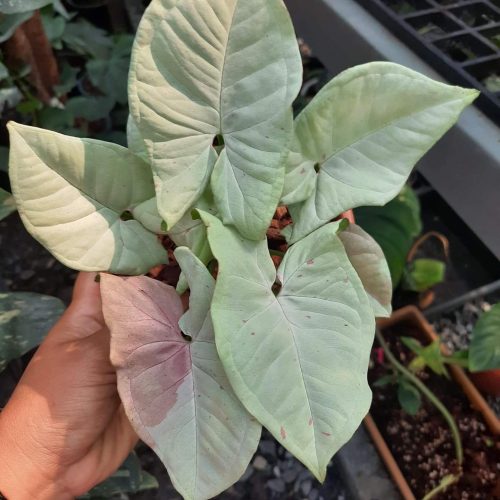
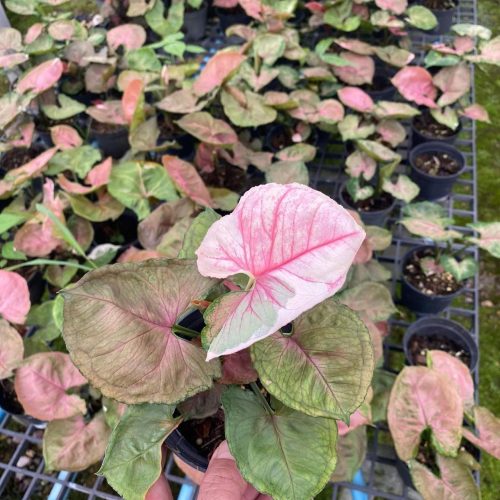
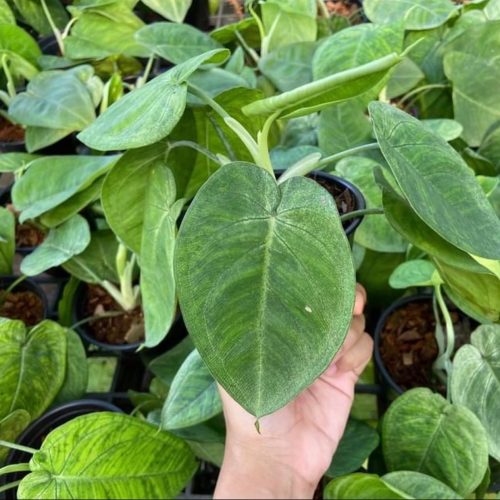
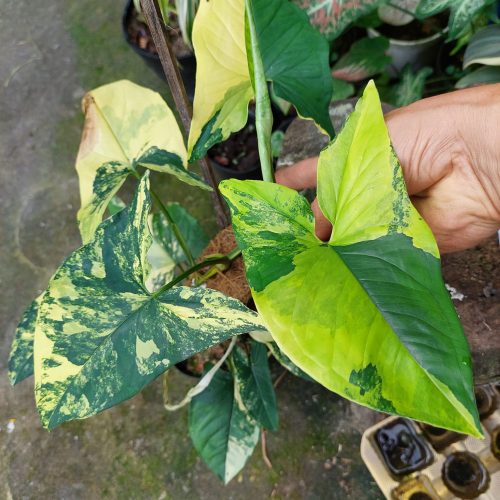
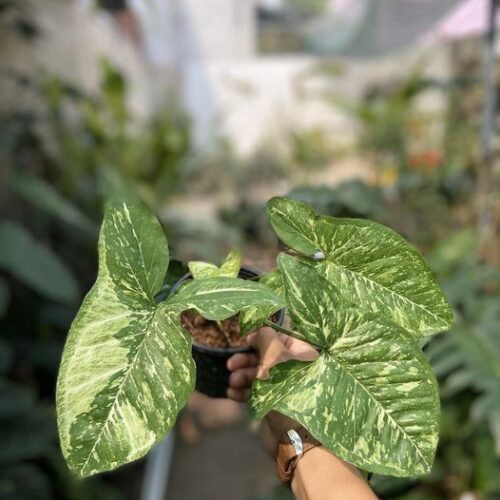
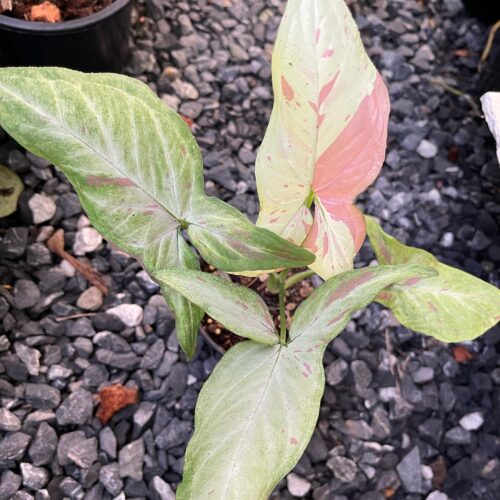
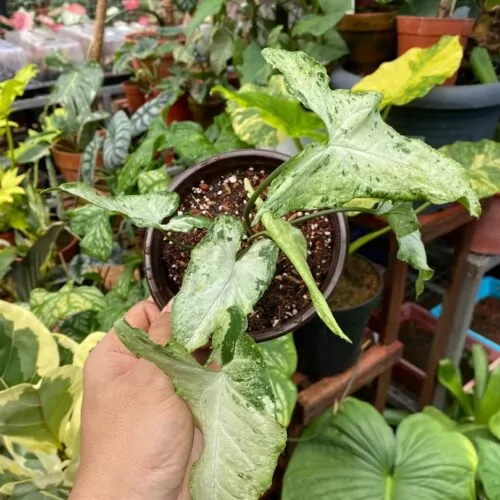
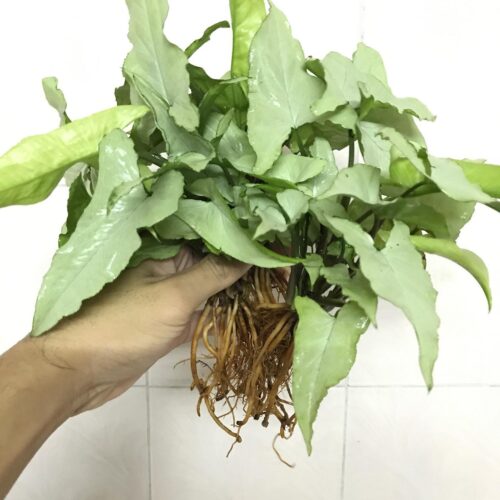
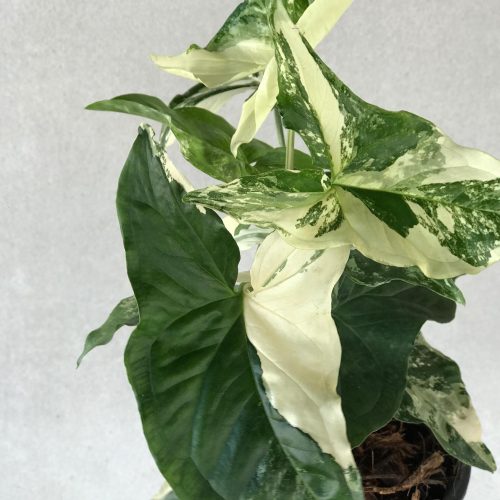
Anthuriums are tropical plants prized for their lush, heart-shaped leaves and unique flowering spikes. Their exotic blooms come in a rainbow of colors like red, pink, white, orange, and more. Anthuriums make great houseplants and add a touch of the tropics to any space. Propagating anthuriums is an easy way to make more plants for free! Follow these simple steps to successfully propagate anthuriums at home.
Select a Healthy Mother Plant
The key to propagating anthuriums is starting with a vigorous, healthy mother plant. Choose one that:
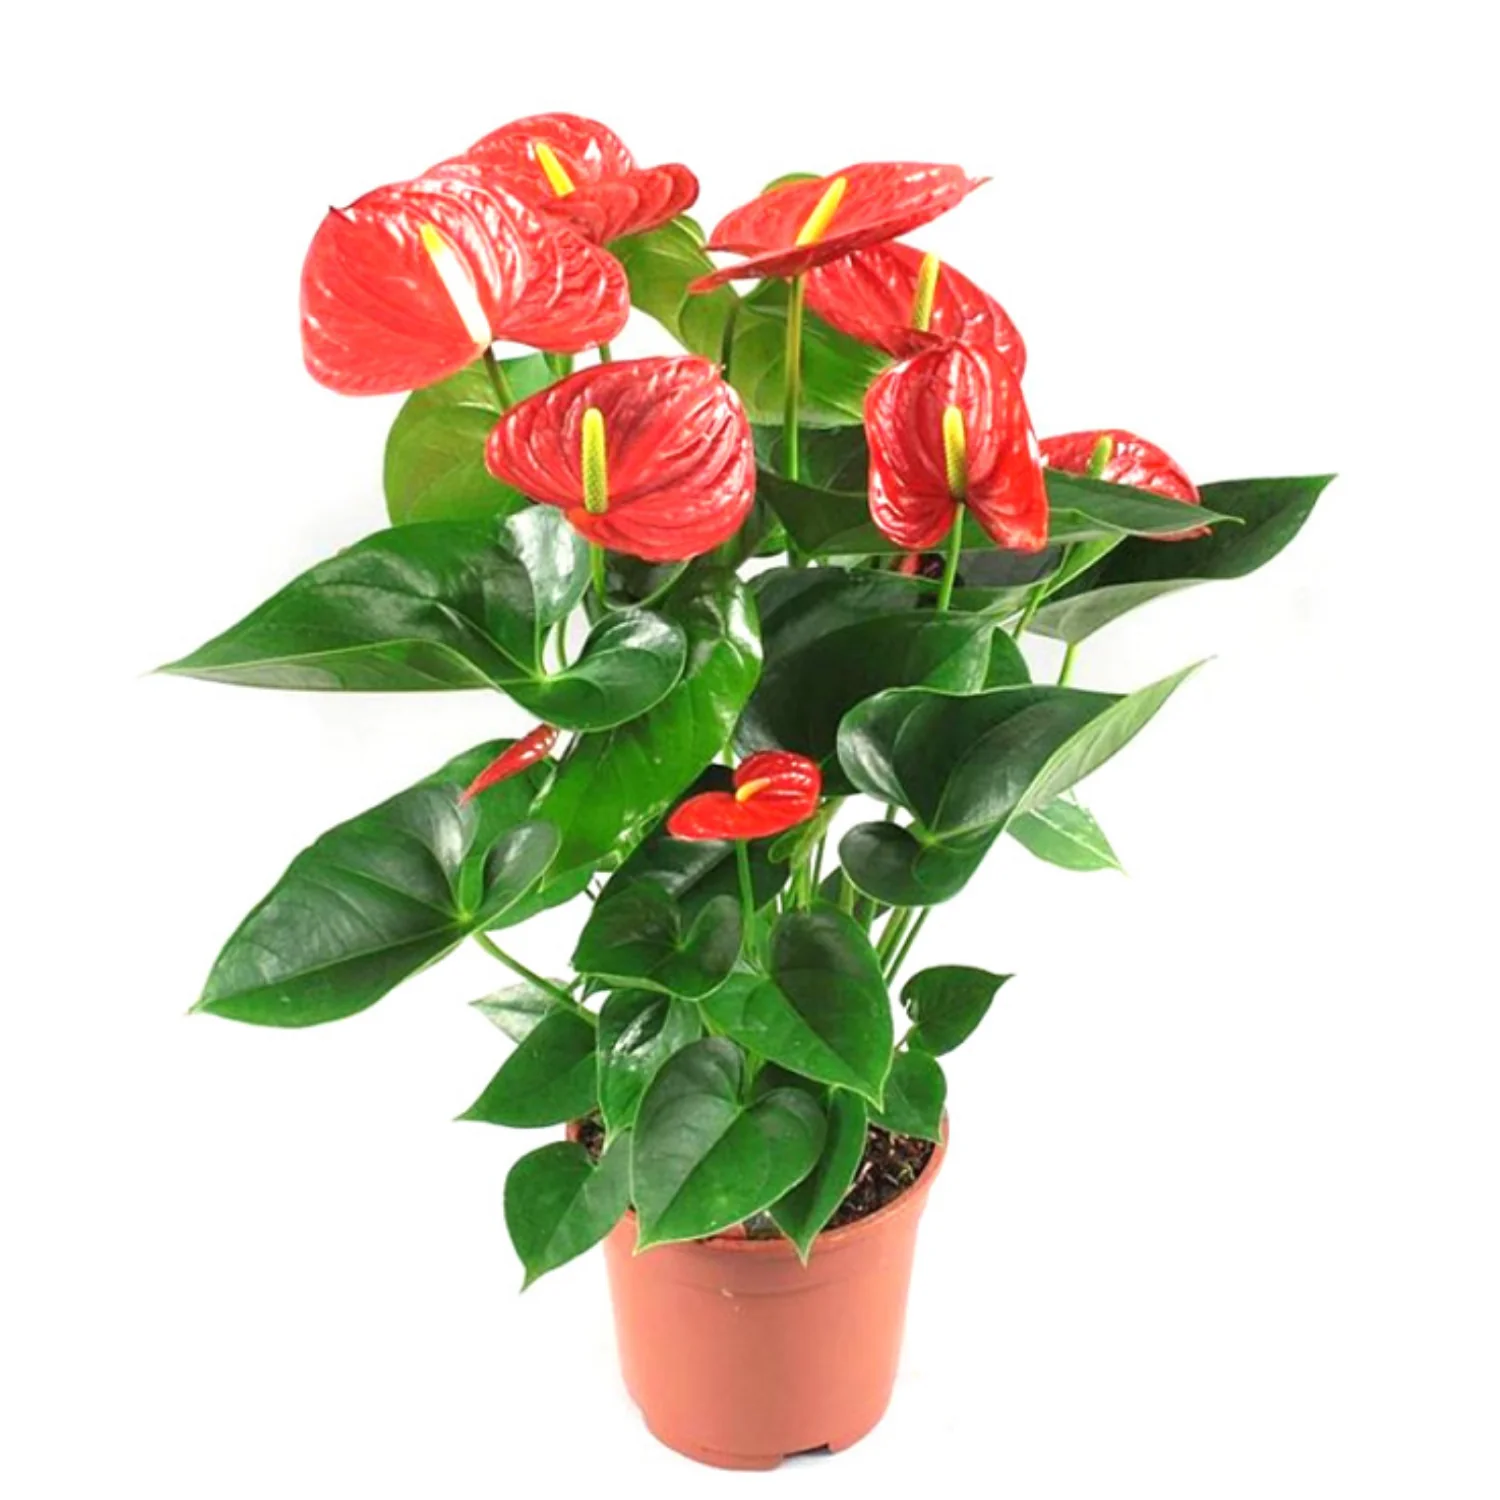
Has Lush, Green Foliage
Select a plant with bright green, glossy leaves as an indicator of good health. Avoid any plants with yellowing, curled, or wilted foliage.
Is Actively Flowering
Pick a mother plant that is actively producing flowers. The presence of blooms means it is mature enough to propagate.
Gather Propagation Materials
Before you can begin propagation, assemble the necessary materials:
Sharp, sterile shears or knife
Use clean, sharp pruning shears, scissors, or a knife to take healthy cuttings from the mother plant with minimal damage. Rubbing alcohol works well for sterilization.
Propagation vessel
Choose a sterile container like a pot, tray, or nursery flat filled with a lightweight propagation medium like perlite, peat moss, vermiculite etc.
Take Stem Cuttings
Taking stem cuttings is the most common way to propagate anthuriums:
Select Healthy Stems
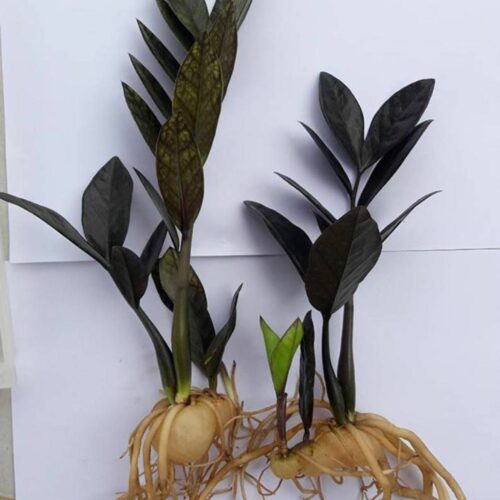
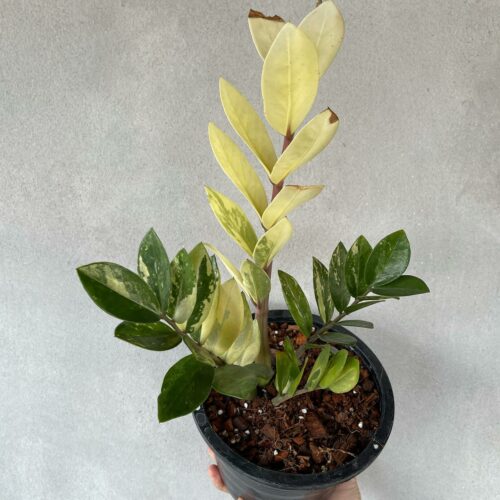
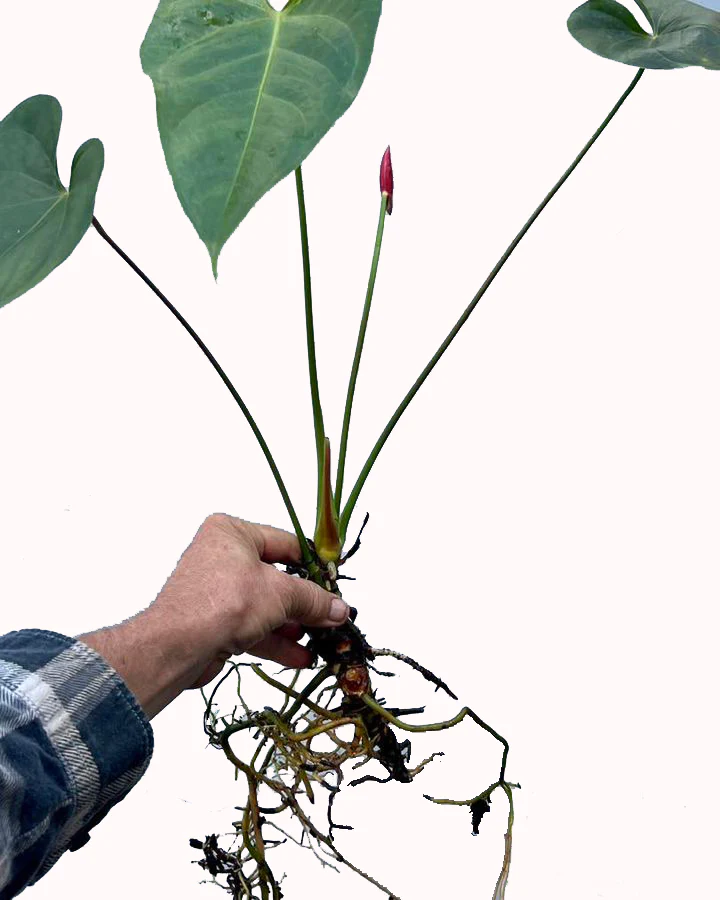
Choose vigorous stems with a few leaves attached. The stems should be 3-6 inches long. Avoid any diseased or damaged parts of the plant. Complement your Anthuriums with hardy plants like Sansevieria and ZZ Plant for a diverse collection.
Cut Below a Node
Make a smooth cut just below a node—the part of the stem where a leaf emerges. The node is where new roots will eventually emerge.
Dip in Rooting Hormone
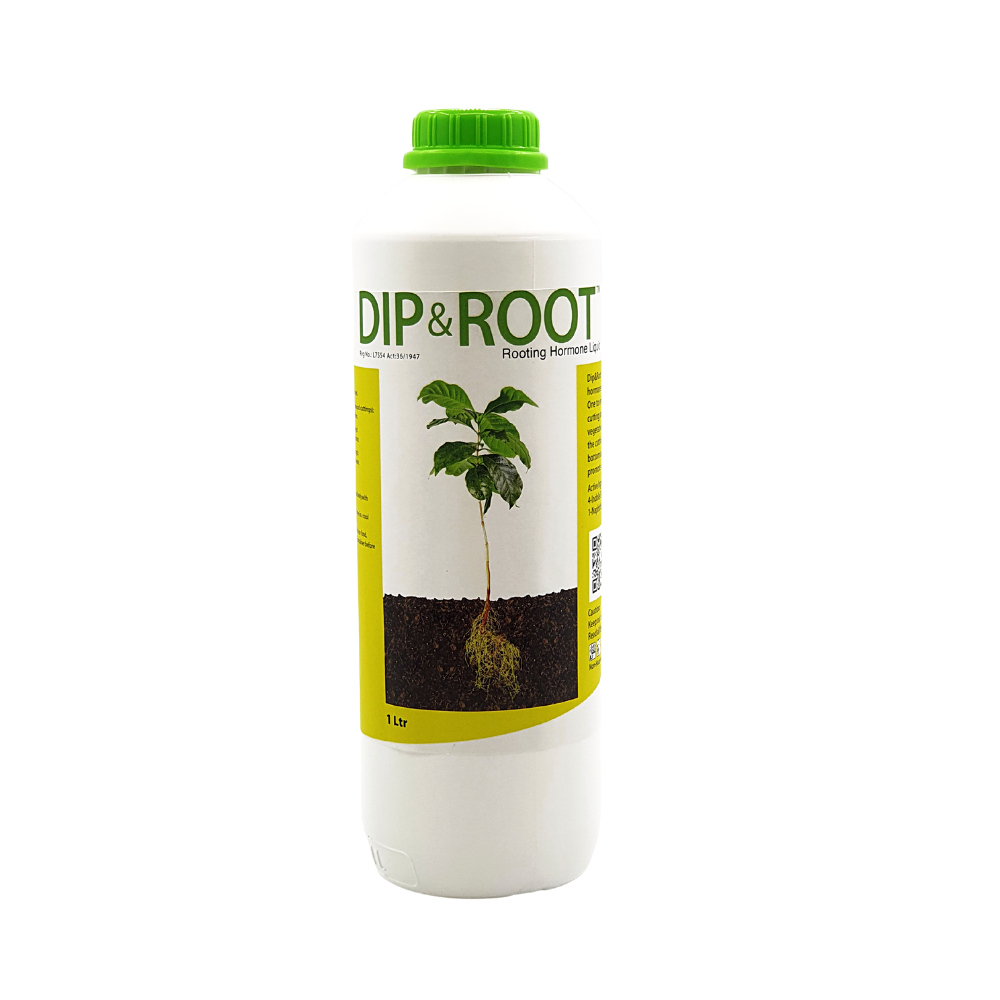
Using a rooting hormone like honey, willow water, or commercial products containing auxins can improve your chances of successful propagation.
Moisten the cut end
Before dipping cuttings in rooting hormones, moisten the cut end to help it absorb more of the product.
Coat the bottom 1-2 inches
Dip just the bottom 1-2 inches of the wet stem cutting into the rooting hormone powder or liquid. Tap off any excess. The hormones will encourage faster, more abundant root growth.
Stick in Propagation Medium
Place your newly prepared cuttings into the sterile propagation vessel you prepared:
Insert into medium
Make holes in the rooting medium using a pencil or stick. Gently insert each cutting; the tip should remain above the surface. Space multiple cuttings 1-3 inches apart.
Maintain humidity
Cover cuttings with a plastic bag or propagator lid to maintain very high humidity around the leaves. Too much moisture loss will inhibit rooting. Open once a week for some air circulation.
Provide Ideal Conditions
Caring for your anthurium cuttings properly is vital to stimulate new root growth:
Bright, Indirect Light
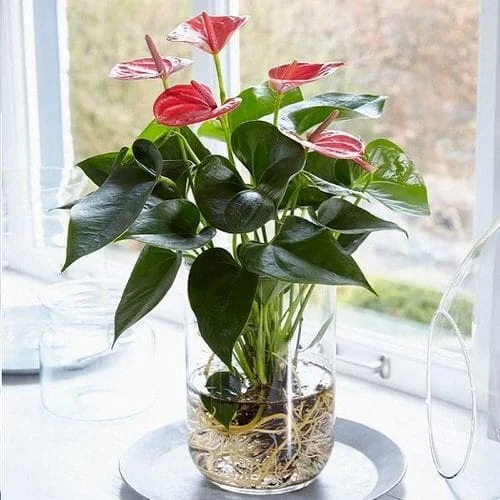
Place the propagation vessel in a spot with plenty of bright, indirect sunlight. Low light will slow or prevent root establishment. For a varied light-loving collection, consider adding Epipremnum and Hoya Plants.
Consistent Moisture
Check the rooting medium daily, watering just enough to keep it evenly moist but not soaked. Proper moisture is crucial for the cutting to grow new roots.
Warm Temperatures
Maintain temperatures between 70-80°F, which is ideal for Anthurium propagation and tropical plants in general. Keep away from cold drafts.
Transplant Successfully Rooted Cuttings
In 4-8 weeks, rooted cuttings will be ready for transplanting:
Look for New Growth
Signs that rooting was successful include new leaves emerging and visible root growth protruding from the medium.
Pot into Rich Soil
Very carefully transplant into a small pot using a well-draining, nutrient-rich potting mix amended with compost or worm castings. Keep the soil evenly moist.
Gradually Expose to More Sun
Slowly acclimate young plants to increased light levels and lower humidity over 2-4 weeks. Soon your new Anthuriums will be thriving! Pair your new plants with other tropical beauties like Syngonium and Colocasia.
Propagating Anthuriums from stem cuttings and providing them with optimal growing conditions allows you to easily make more of these gorgeous tropicals. Follow these simple steps for propagation success!
Conclusion
Propagating Anthuriums is a rewarding and cost-effective way to expand your collection of these stunning tropical plants. With a little patience and the right care, you can create new Anthuriums from stem cuttings and enjoy their vibrant blooms for years to come. Whether you’re a seasoned plant enthusiast or a beginner, this guide provides the essential steps to successfully propagate Anthuriums at home.
FAQs
-
Can I propagate Anthuriums from leaves? While it’s possible to propagate Anthuriums from leaves, it’s a more challenging and less reliable method than using stem cuttings. Stem cuttings generally have a higher success rate and develop roots more quickly.
-
How long does it take for Anthurium cuttings to root? Rooting time can vary depending on various factors like temperature, humidity, and the health of the cutting. In general, you can expect Anthurium cuttings to develop roots in 4-8 weeks.
-
What type of soil should I use for transplanting rooted cuttings? Use a well-draining, nutrient-rich potting mix amended with compost or worm castings. Anthuriums prefer slightly acidic soil with good aeration.
-
Should I fertilize newly propagated Anthuriums? Wait until new growth appears before fertilizing. Use a balanced, water-soluble fertilizer diluted to half strength. Fertilize every 2-4 weeks during the growing season.
-
How often should I water newly transplanted Anthuriums? Keep the soil evenly moist but not soggy. Water when the top inch of soil feels dry to the touch. Avoid overwatering, as it can lead to root rot.

