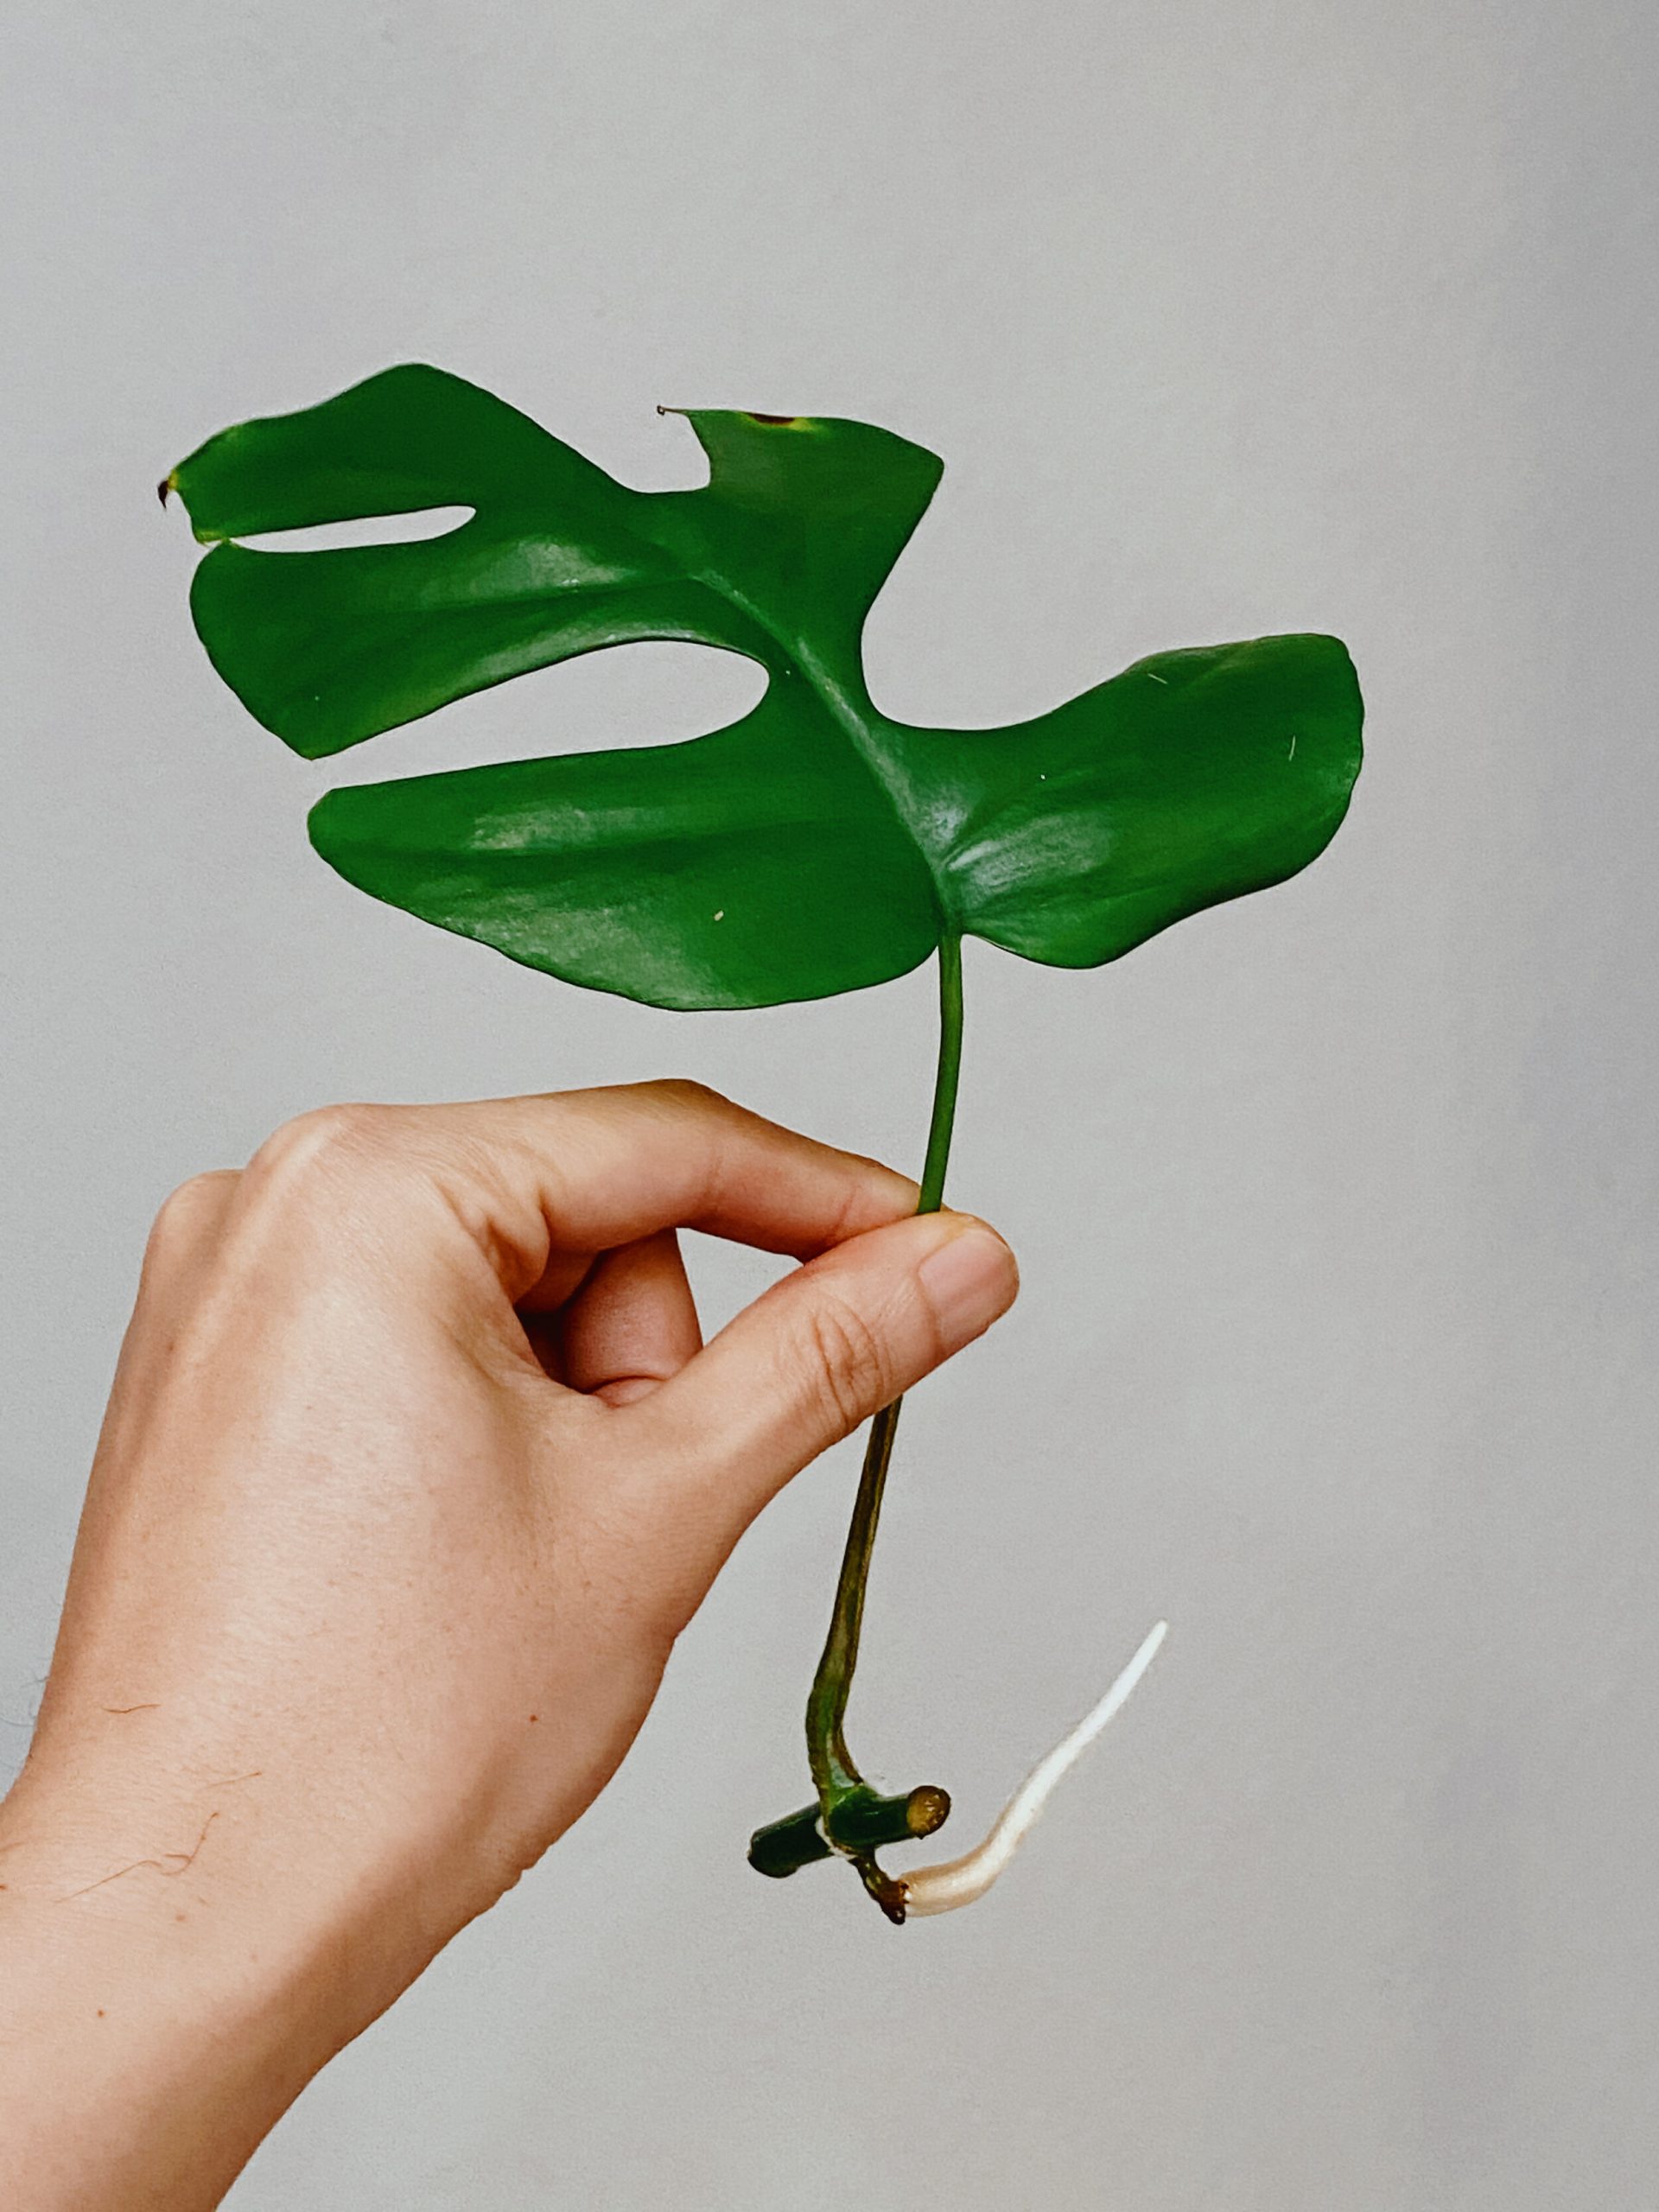
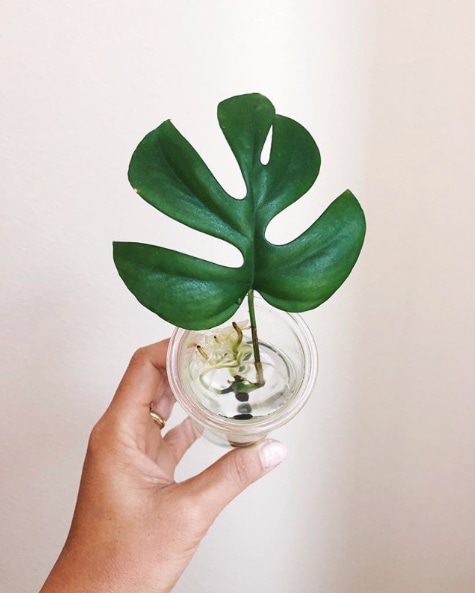
Rhaphidophora plants, also known as rhaphidophora tetrasperma or miniature monstera, are gaining popularity for their unique fenestrated leaves and easy care. Propagating these plants is a simple way to get new rhaphidophora plants for free. Here are 5 easy steps for propagating rhaphidophora in water or soil.
Select a healthy rhaphidophora stem
When selecting a stem to propagate, you’ll want to choose a healthy stem with 1-3 leaves. Avoid stems that are turning yellow or have brown spots.

Identify a section of stem 6-8 inches long
Look for a section of stem that is 6-8 inches long. This gives the cutting enough length to sprout ample roots. The section should have 1-3 leaves at the top. More leaves leads to more transpiration, increasing the chance of propagation success.
Use sterile gardening shears
Using clean, sterile gardening shears or scissors, cut the stem just below a node. Nodes are the small brownish bumps along the stem where leaves and aerial roots emerge. Cutting below a node is where new roots will sprout.
Remove lower leaves
Once you’ve cut your rhaphidophora propagation stem, carefully remove the lower leaves. Leaving just the top 1-2 leaves.

Reduce transpiration
Removing the lower leaves reduces transpiration, allowing the cutting to retain more moisture as the roots develop. Less leaves means less water loss.
Prevent stem rotting
Taking off lower leaves also prevents the buried section of stem from rotting due to excess moisture once planted. Leafless sections of stem grow roots more readily.
Dip cutting in rooting hormone (optional)
While not essential, dipping the end of the cutting in a rooting hormone can encourage faster root growth. Commercial formulas like Dip ‘N Grow stimulate root development.

Contains auxins
Rooting hormone contains auxins, plant hormones that promote root cell growth. This gives the cutting a boost to sprout roots quicker.
Speeds propagation
Though not required, using rooting hormone can decrease propagation time by up to 2 weeks by accelerating root production.
A compilation of the Rhaphidophora species that are in high demand in 2023
Plant rhaphidophora cutting
Onceyou’ve cut and prepared your rhaphidophora stem, it’s time to plant it. You can root rhaphidophora cuttings in either water or potting mix.

Water method
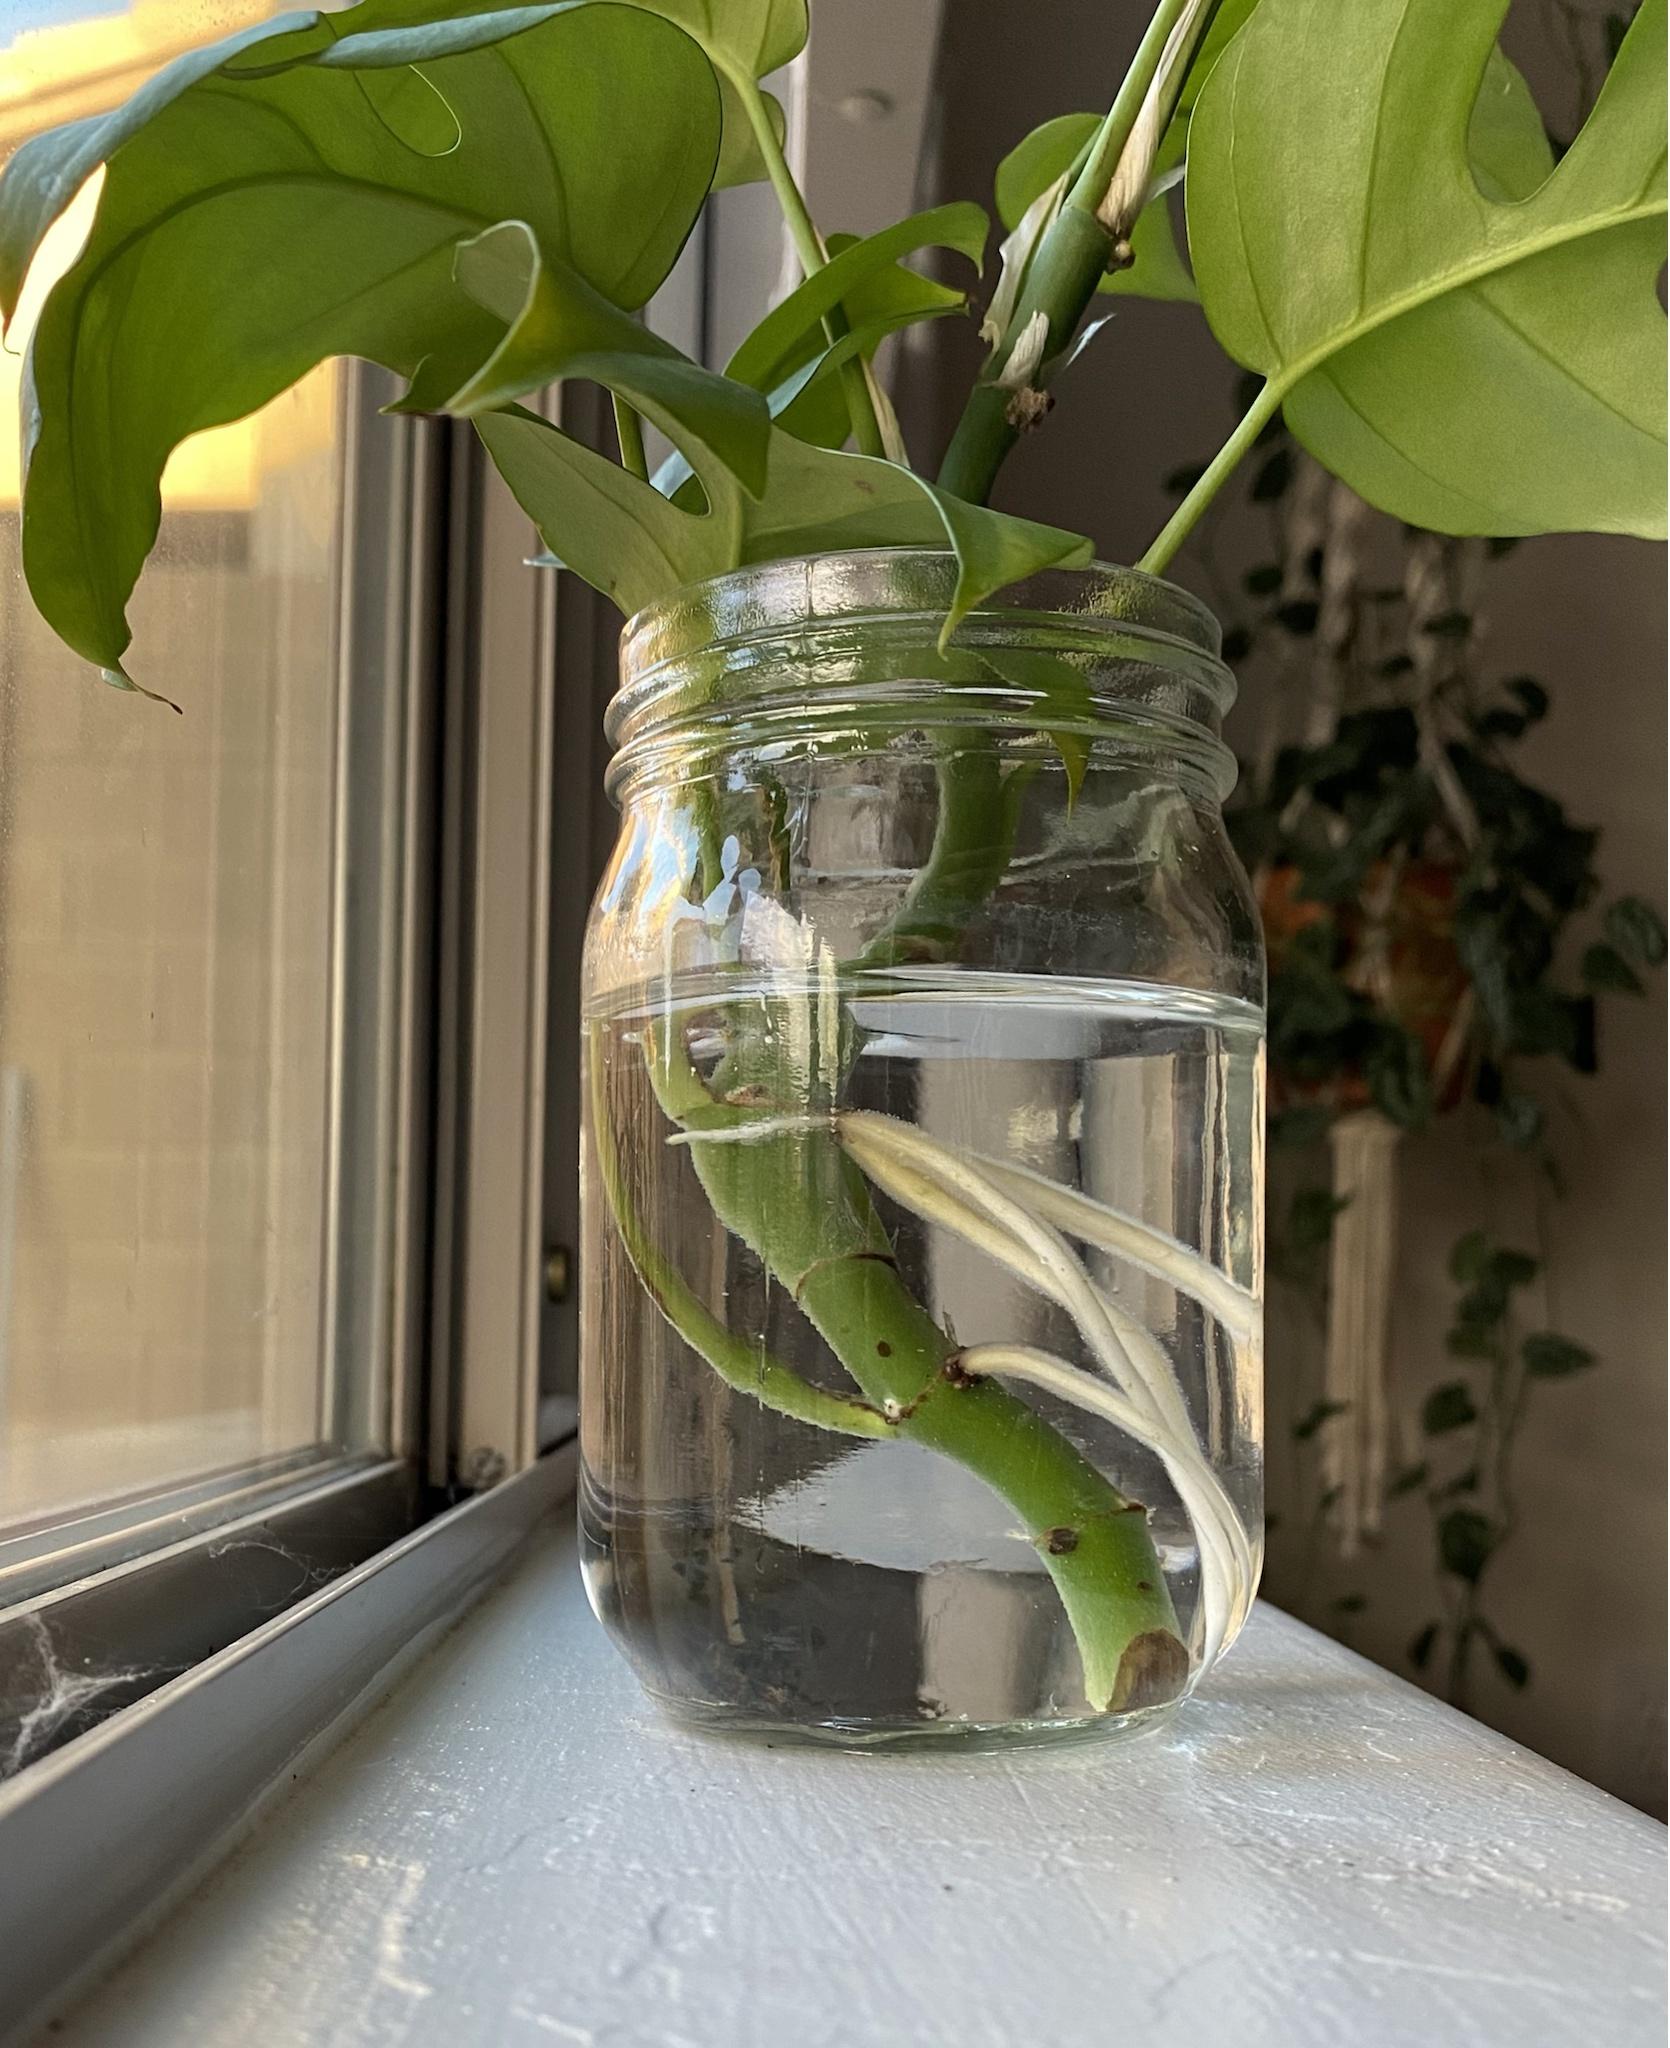
For water rooting, place the cutting in a jar or vase filled with room temperature water. Change water weekly to prevent bacteria growth. Roots emerge in 4-6 weeks.
Soil method
In potting mix, plant the stem in a small container with well-draining soil. Keep soil moderately moist, watering when the top inch becomes dry. New growth appears in 6-8 weeks when rooted.
Provide bright, indirect light
As your rhaphidophora cutting develops roots and new growth, provide bright but indirect light. Direct sun can scorch tender new leaves.

South or West window
Place your propagating jar or potted cutting near a south or west facing window. This gives plenty of gentle sunlight throughout the day. Use sheer curtains to filter intense afternoon sun.
Grow light option
If natural light is limited, use a broad spectrum LED grow light positioned 1-2 feet above the cutting. Give 14-16 hours of daily light for robust growth.
Transplant successfully rooted cuttings
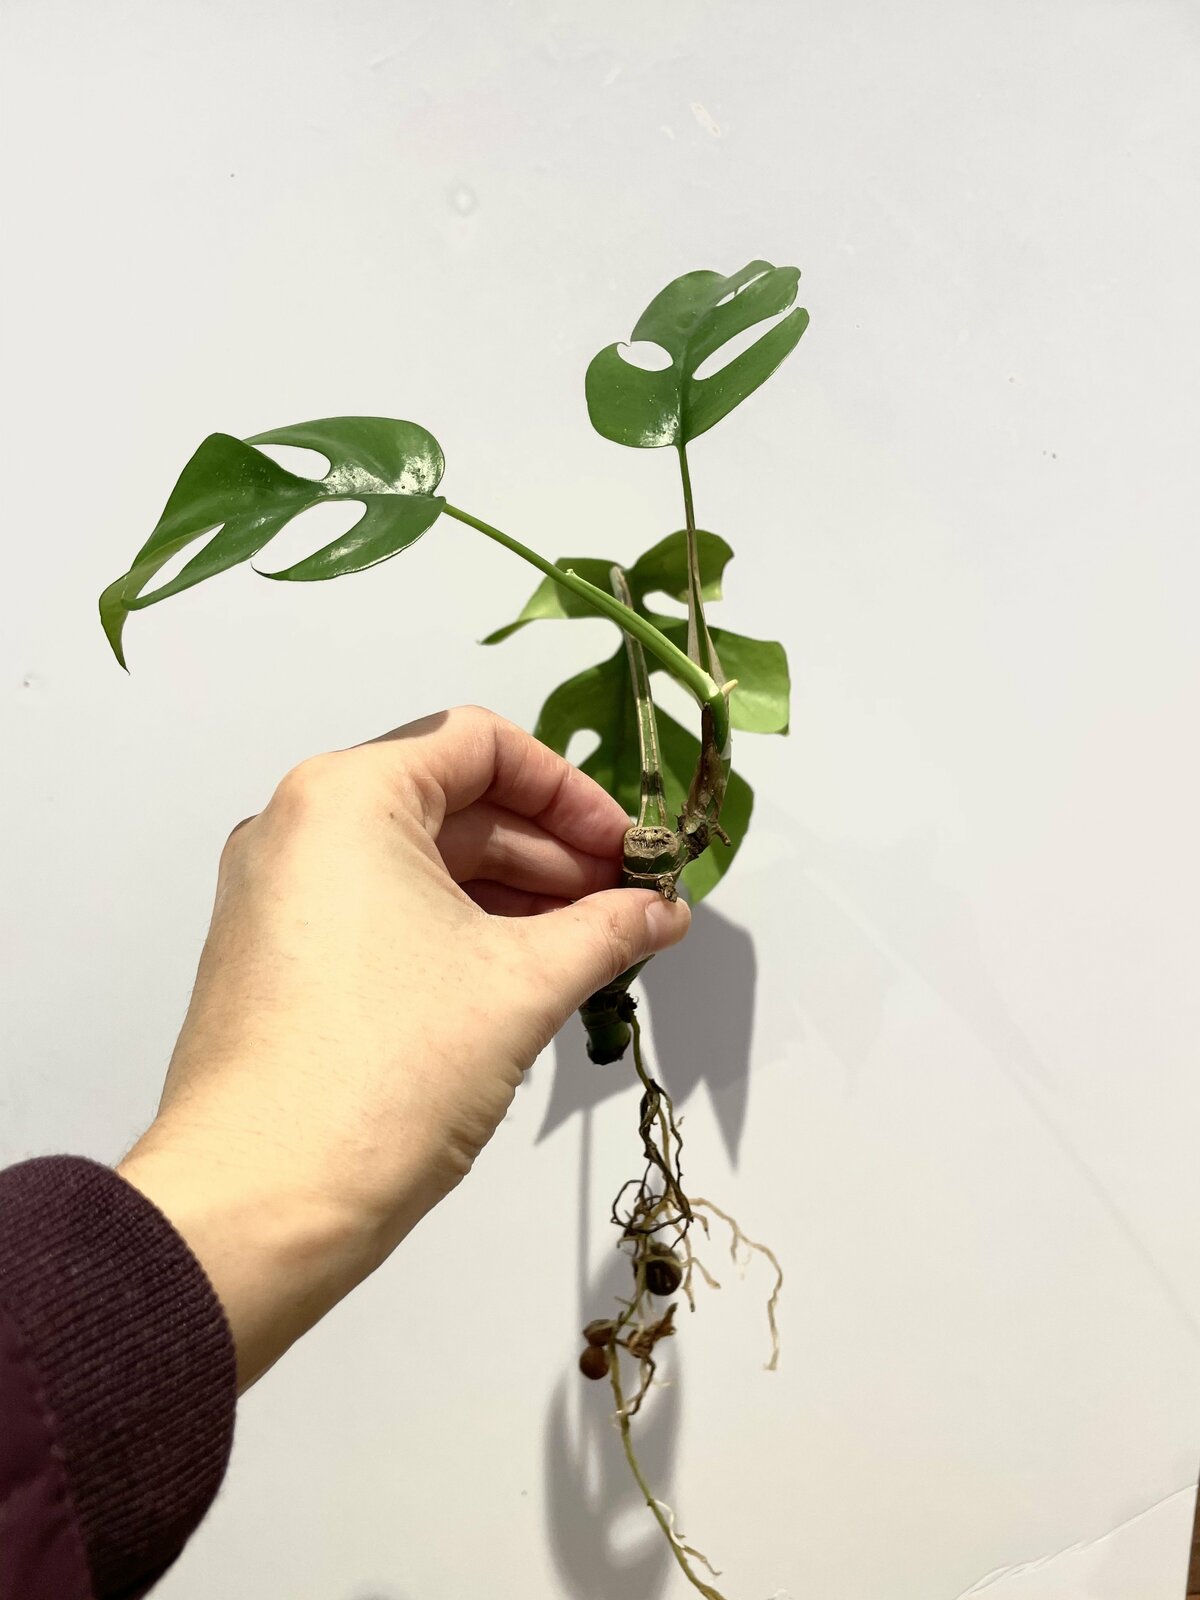
In 6-8 weeks your rhaphidophora cutting should have an established root system and fresh foliage. Gently transplant water-rooted plants into potting soil, keeping some original roots intact. For cuttings already planted in soil, shift to a roomy pot once rooted.

Avoid disturbing new roots
Carefully water and loosen the root ball before repotting to avoid tearing delicate new roots. Support stem and roots when transferring into potting mix to keep disruption minimal.
Give room to grow
Select a planter 2-4 inches wider than the original container to provide space for growth. Use a houseplant potting mix and give plenty of drainage holes. Site in a spot with adequate warmth and indirect sunlight.
Following these simple propagation steps, you’ll soon have baby rhaphidophora plants to expand your indoor jungle! It’s a gratifying way to fill your home with beautiful foliage for free.
Conclusion
Propagating rhaphidophora plants is an easy and affordable way to get new houseplants. By cutting 6-8 inch stem sections, treating with rooting hormone, and planting in water or potting soil, you’ll have rooted new plants within 2 months. Place in bright, indirect light as they develop roots and shoots for high success rates. Soon you’ll have lush new monstera plants from just a single stem cutting!
FAQ
- How do I propagate Rhaphidophora cuttings?To propagate Rhaphidophora cuttings, you can take stem cuttings with a few nodes, allow them to root in water or a well-draining potting mix, and then transplant them into a new container once they have developed roots.
- What is the best season for propagating Rhaphidophora?The best time to propagate Rhaphidophora is typically during the spring or early summer when the plant is actively growing. This allows for faster and more successful root development.
- Can I propagate Rhaphidophora in water or should I use soil?Rhaphidophora cuttings can be propagated in both water and soil. Many people prefer water propagation as it allows you to monitor root growth more easily, but soil propagation can also be successful with the right conditions.
- How long does it take for Rhaphidophora cuttings to root?The time it takes for Rhaphidophora cuttings to root can vary, but it typically takes several weeks to a few months. Rooting time depends on factors like humidity, temperature, and the health of the cutting.
- Should I use rooting hormone when propagating Rhaphidophora?Using rooting hormone is optional when propagating Rhaphidophora. It can help stimulate root growth and increase the chances of success, especially when propagating in soil. However, many Rhaphidophora cuttings can root successfully without the use of rooting hormone.

