
Tissue culture environmental transition
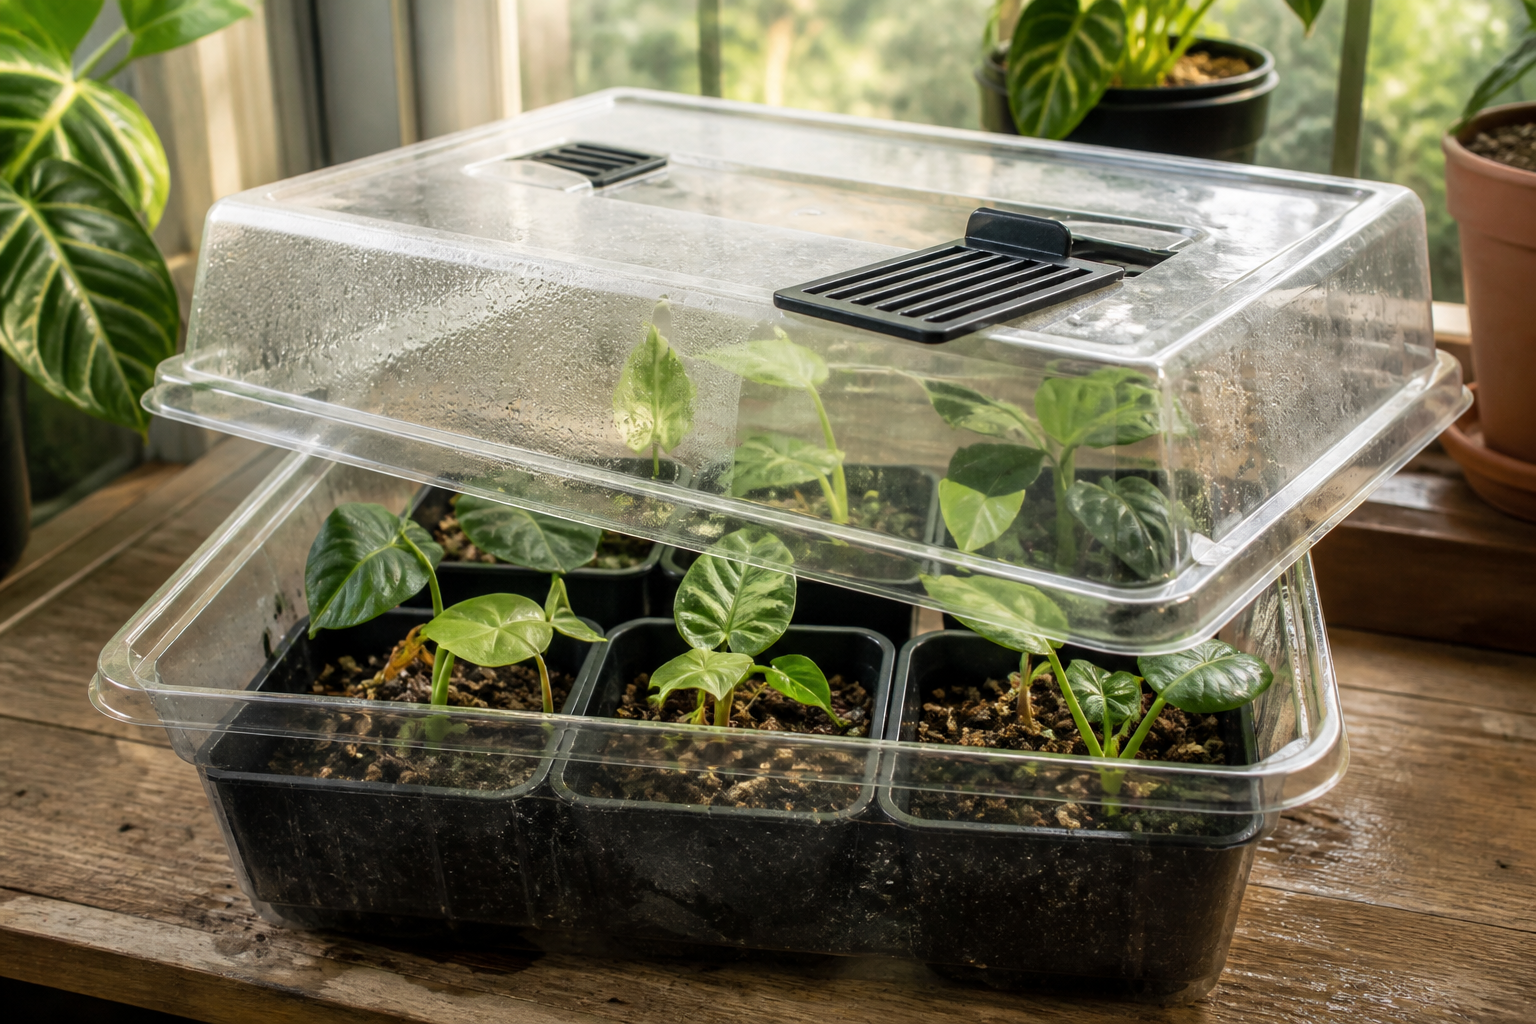
Hardening is the controlled change from a protected, humid chamber to the light, airflow and drying pattern of your room or nursery. The safest pace comes from the plantlet’s response—not from copying a fixed day count.
- Humidity protects water balance; it does not replace functioning roots.
- Condensation describes the chamber, not the moisture inside the pot.
- Change ventilation before increasing light so the plant faces one new pressure at a time.
- New roots, a stable leaf and predictable water use are stronger readiness signals than the date.
Why the move from in vitro to ex vitro is difficult
A plantlet inside a culture vessel develops in near-saturated humidity, low air movement, controlled light and a sugar-containing medium. Once it is ex vitro, the leaf must limit water loss, the roots must supply water from a porous substrate and the plant must support more of its own photosynthesis. Those systems do not become fully effective the moment the lid opens.
Research on micropropagated plants describes several overlapping constraints: a thin or incompletely developed cuticle and wax layer, stomata that may not yet regulate water loss normally, roots adapting from gel to an aerated medium, and lower photosynthetic competence. UF/IFAS summarizes Stage-IV acclimatization around two central problems—water relations and photosynthetic competence. This is why “just keep it wet” and “give it stronger light” can both fail.
Read four systems at once
The controls interact. Adjust one, then watch the other three before changing the setup again.
| Control | What it changes | Stable signal | If pressure is too high |
|---|---|---|---|
| Humidity and airflow | Leaf water loss and gas exchange. | Leaves hold turgor through a slightly longer venting period. | Restore the last tolerated opening and make the next increase smaller. |
| Light | Energy supply, leaf temperature and demand for water. | Color and posture remain steady without bleached or crisp patches. | Reduce peak intensity or heat; keep ventilation changes on hold. |
| Root-zone moisture | Water access and oxygen around small roots. | The medium remains evenly moist yet begins to dry predictably. | Check pot weight, drainage and roots before adding more water. |
| Temperature | Metabolism, evaporation and pathogen pressure. | No rapid wilt, heat buildup or cold-window shock. | Return to a warm, stable genus-appropriate location away from vents and direct sun. |
Advance only when the plant holds the current condition
Start with a small vent or short opening rather than removing the dome for a whole day. Observe the plant during the same part of its light cycle so changes are comparable. If the leaves stay firm, extend the opening modestly. If they soften rapidly, restore protection and wait for recovery before trying a smaller step.
A practical sequence is to increase gas exchange first, then hold that setting while evaluating the plant. Increase light only after the plant tolerates the new airflow. This prevents a humidity drop and a light-driven rise in leaf temperature from arriving together.
- Leaf stability: the plantlet remains firm through a normal light cycle at the current opening.
- Recovery: a mild temporary softening resolves promptly without a spreading lesion.
- Root activity: roots are firm or visible at the pot edge, or new growth shows the root system is functioning.
- Predictable moisture: the pot starts to use water without becoming waterlogged or drying abruptly.
- Clean active point: the crown and newest growth remain firm, with no sour odor or expanding translucent tissue.
Condensation is not a watering meter
Droplets form when humid air meets a cooler surface. They can appear while the root zone is too wet, adequately moist or beginning to dry. Judge the pot separately: lift it, inspect drainage, look below the decorative surface and check whether roots are firm. A closed dome slows evaporation, so a small pot can stay wet much longer than it would in open air.
Use a fine, airy medium that contacts small roots without becoming a dense saturated plug. There is no universal recipe; sphagnum, fine bark, coco, perlite and other components behave differently by grade, compaction and room conditions. The dedicated sphagnum moss decision guide explains where moisture retention helps and where it can hide an airless center.
Separate transition stress from spreading damage
| What you see | Useful differential | First response |
|---|---|---|
| Leaves soften only after venting | Humidity fell faster than water control improved. | Return to the previous opening; keep light stable and retry more gradually. |
| Plant wilts while the pot stays heavy | Root injury, oxygen-poor medium or stem-base failure can interrupt water uptake. | Do not water reflexively; inspect drainage, odor, crown and root firmness. |
| Bleached or crisp exposed patch | Light or heat increased too fast, especially beneath clear plastic. | Reduce peak exposure and stabilize temperature before changing humidity again. |
| Fuzzy growth or sour odor | Contamination plus stagnant, wet conditions. | Isolate the pot, improve clean air exchange and document whether the affected area expands. |
| One old in-vitro leaf declines | Transition loss is possible if roots, crown and new growth remain firm. | Track the whole plant; remove only tissue that is clearly collapsed or spreading decay. |
When the dome can come off
The plantlet is ready for ambient conditions when it holds turgor through the room’s normal light cycle, tolerates the dome fully open for repeated periods, uses moisture predictably and shows firm roots or new growth. Choose a stable day for the final removal; avoid combining it with repotting, a fertilizer change, direct sun or a move beside an air conditioner.
After the dome comes off, keep observing rather than declaring the process finished. The pot may dry faster as airflow increases and leaf area expands. Adjust watering from the root zone, not from the schedule that worked inside the chamber.
Use the right guide for the stage you are in
If the plant is still sealed or gel remains around its roots, begin with the step-by-step deflasking and potting protocol. If the vessel arrived cracked, gel has moved across the leaves or contamination is suspected, use the delivery and flask-triage guide before routine hardening.
Sources and practical limits
- UF/IFAS: Commercial Production of Ornamental Tropical Foliage Plants—Micropropagation — Stage-IV water relations and photosynthetic competence.
- UF/IFAS Propagation Garden: Micropropagation — gradual humidity and light transition.
- Pospisilova et al.: Acclimatization of Micropropagated Plants to Ex Vitro Conditions — review of plantlet water relations, anatomy and physiology.
- Grzelak et al.: Challenges and insights in the acclimatization step — species-dependent abiotic and biotic stresses during ex-vitro transfer.
Practical limit: controlled greenhouse research does not establish one universal home-aroid schedule. Genus, root condition, batch history, substrate and room conditions must shape the final protocol.
